
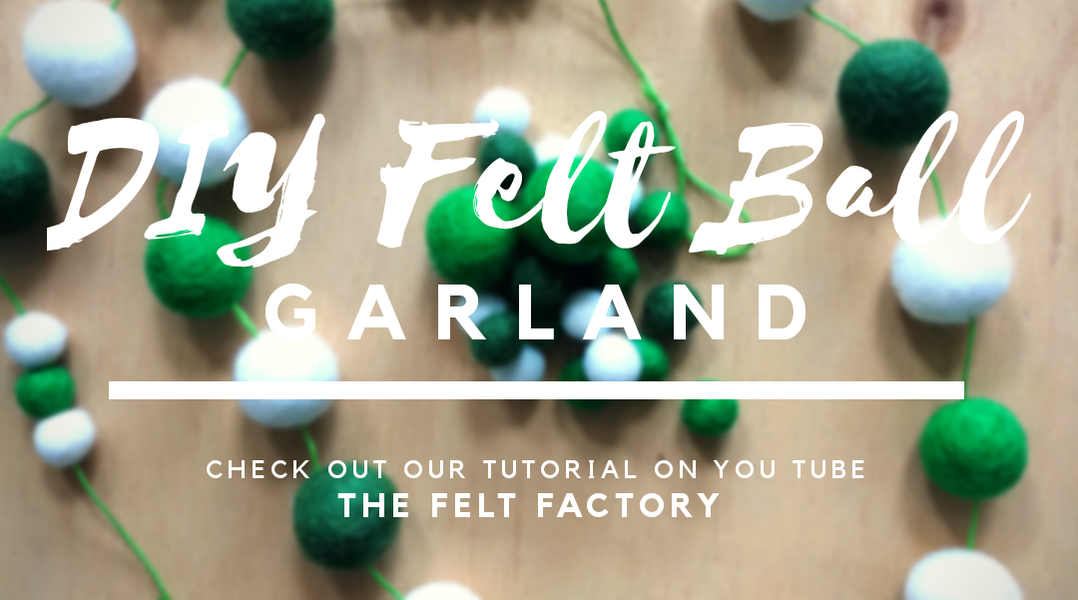
 I just love these gorgeous little wool balls. They are so much fun and with so many colours available, the craft opportunities are endless. I have had a few of my lovely customers wonder what to do with them, so I thought I'd pop up a quick tutorial to show you one of the quickest and easiest ways to use them. My DIY Felt Ball Garland. I hope to put a few more tutorials up so please do subscribe my brand new YouTube channel. Happy Crafting, Rebecca xx
1 Comment
OOoo it’s a bit chilly here in the Naki! There’s definitely a wiff of Autumn in the air, and with the weather closing in a bit, my mind always turns to little projects for a rainy day indoors. I have a few favourite go-to pattern makers for just this sort of crafty, short and sweet type of project. So if you need something in between larger projects or want something that will only take an afternoon or two, check these great makers out. 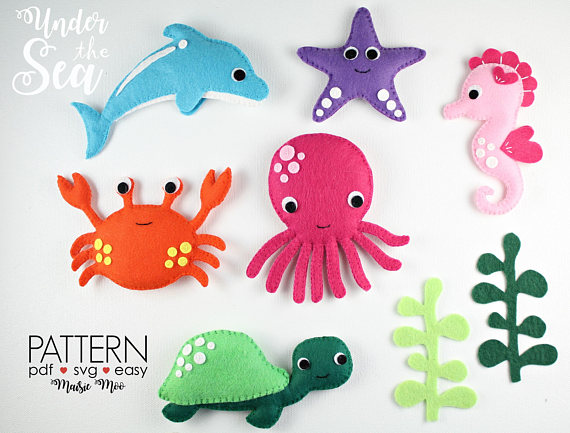 Maisie Moo is a New Zealand pattern maker hailing from Tauranga. Her cute patterns are big on colour and on gorgeousness. Perfect for nursery and baby gifts, she suggests you use her patterns for bunting or mobiles, she also has some fun hoop art, perfect for kids walls. 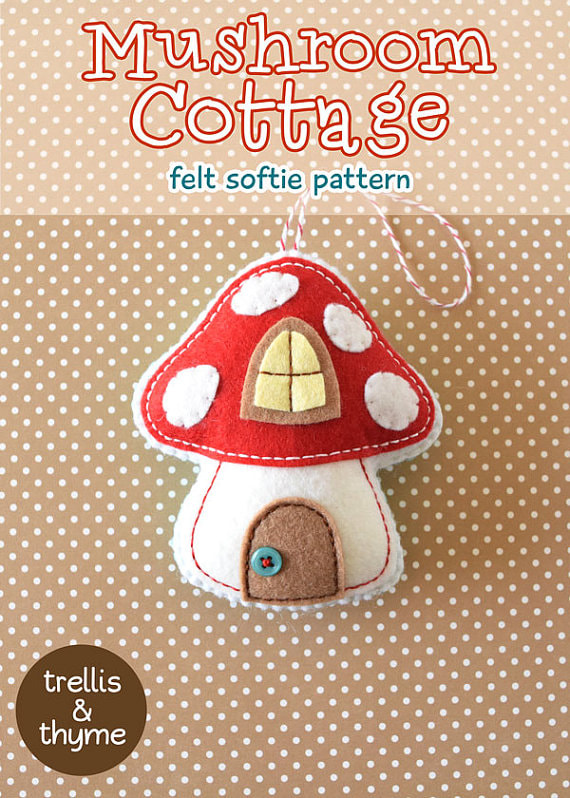 I spotted Trellis and Thyme in a Molly Makes magazine awhile back and fell in love with their fun range of kawaii style ornaments for every occasion. Their Esty shop has a wonderfully quirky selection of cross stitch patterns too.  I was introduced to Wendy Williams patterns by a group of lovely quilters making one of her fabulous wool appliqué and fabric masterpieces. You might have seen my fun wee project with one of her Travel Threads patterns recently. She has a wonderful selection of little and very large projects to create. 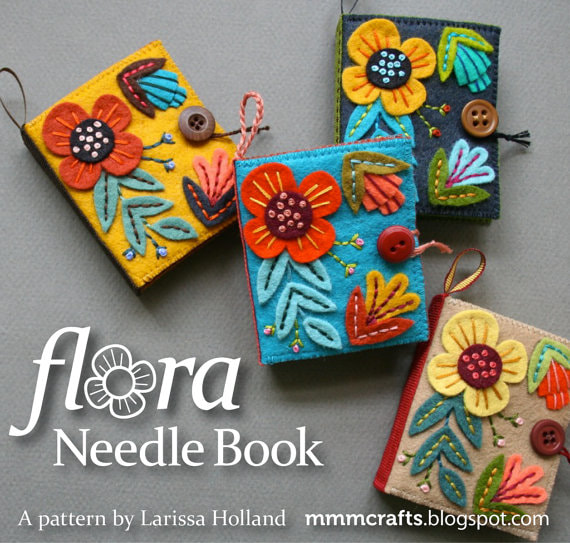 I spyed Mmmcrafts on Instagram just before Christmas, with her beautiful 12 Days ornament Series. Her gorgeous stitched felt ornaments are to die for! Fabulous projects for Christmas and beyond. I’m always on the lookout for wonderful projects, let me know your favourites. I was absolutely thrilled to find Billy Buttons in one of our beautiful florists in New Plymouth this week. I spotted them on IG and fell immediately in love. I'm sure you can see why, these happy, yellow balls of goodness are a dead ringer for my beloved felt balls. 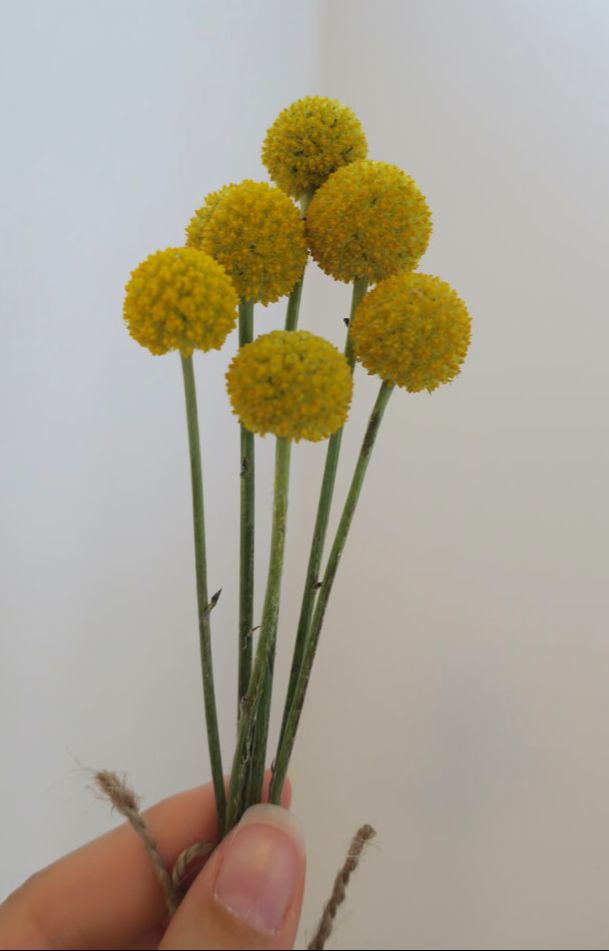 Of course I had to try and make a Felt Ball version. And what a fun easy project. With only a couple of supplies I've made a cute wee posy for my desk. All you'll need is a couple of bamboo skewers, our 2cm Felt Balls (I have used 5x 2cm Felt Balls in Yellow) and a length of twine or ribbon. 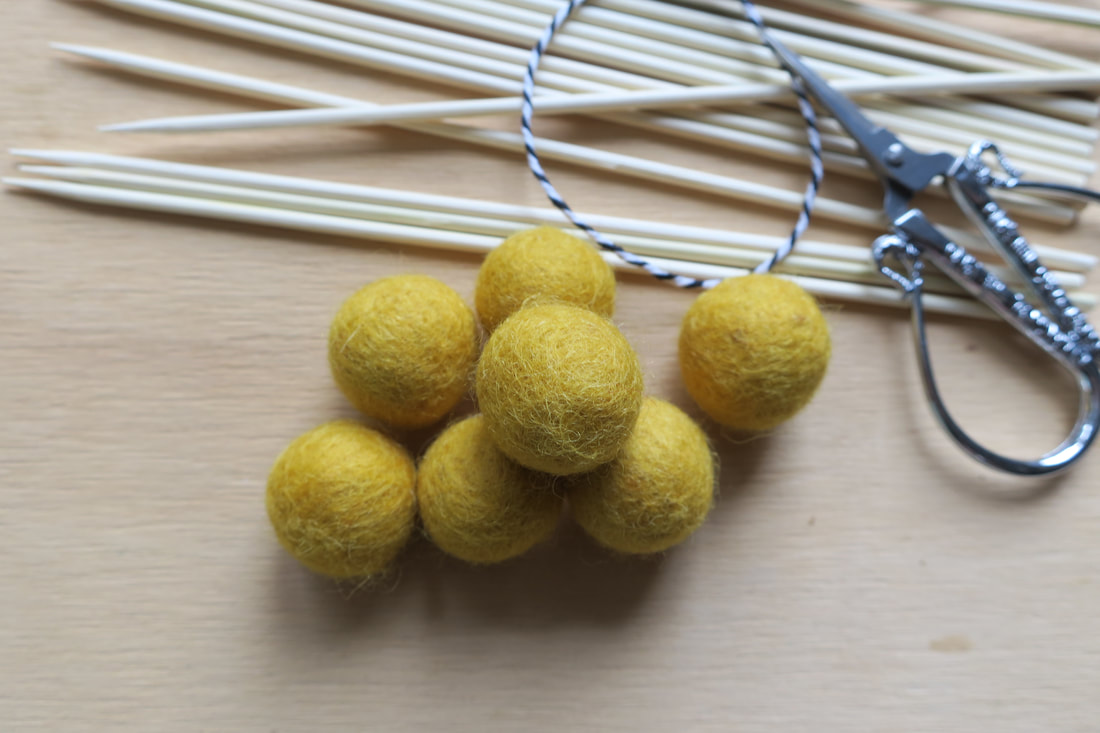 Super easy, use the pointed end of the skewer and gently twist and push into the felt ball. You can paint or twist ribbon or raffia around the skewer to give a more lux effect. I love the clean bamboo in a glass jar, so I left mine plain.  Even though Billy Buttons only grow yellow, the Felt Ball version have endless colour options, well 93 anyway ;) Check out our great range here. Have fun with this, I sure did. I'm off to make some more. xx Rebecca. 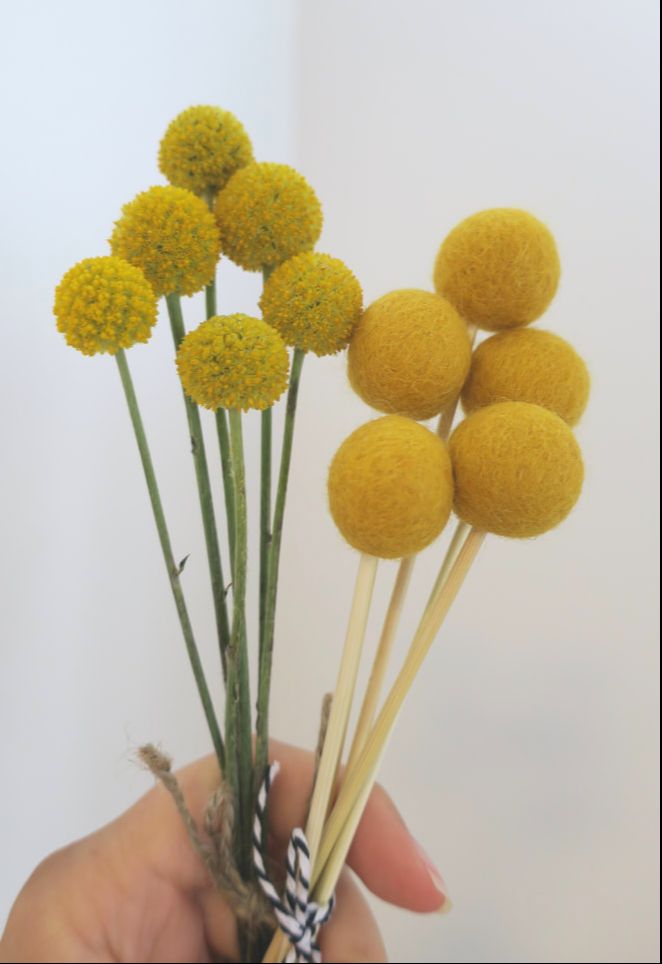 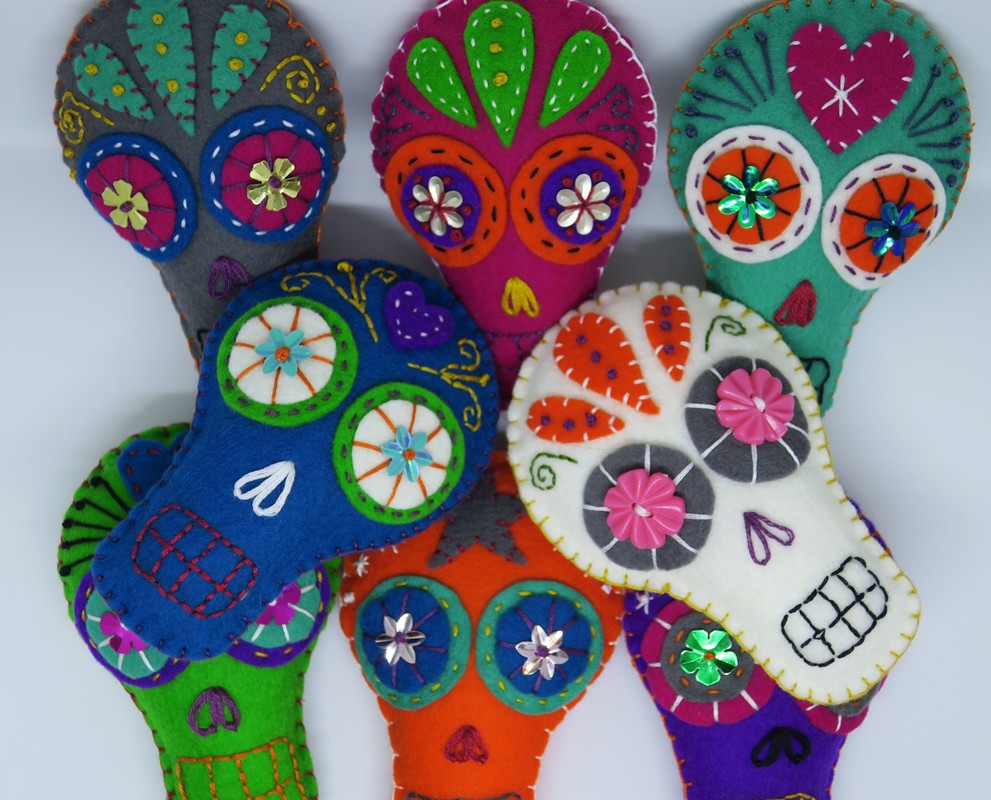 If you follow me on social media you might have noticed the Sugar Skull project I’ve been working on. I absolutely LOVE sugar skulls. The perfect craft for the season. Well, I’m finished! I made 8 of the cute we guys altogether and strung them up as a garland over the fire place. They are very cute and a little brighter than our usual orange, black and white for Halloween. Anyway, it's my absolute pleasure to share my pattern and a wee tutorial about what you'll need and how to put them together. So here goes. You will need:
Let’s go! Cut out the pattern and pin it to your felt. I’ve given you a couple of options for the forehead shapes, you will only need one per skull. Cut carefully around the patterns. 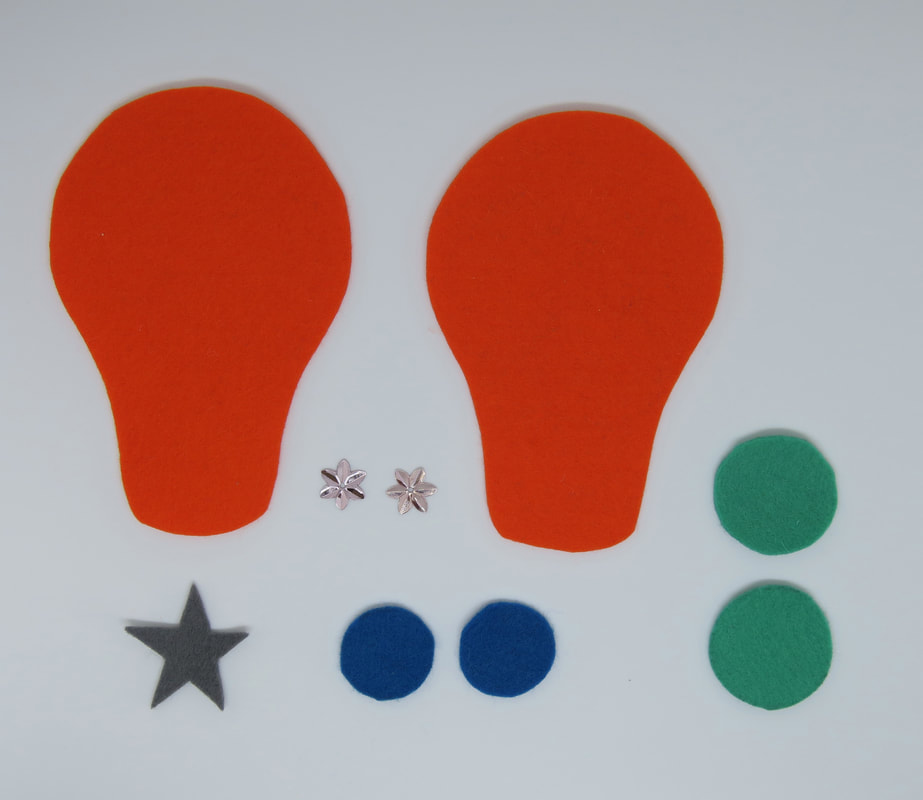 Thread you embroidery needle with 3 strands of embroidery floss and sew the eye circles together, then fix the sequin or button. 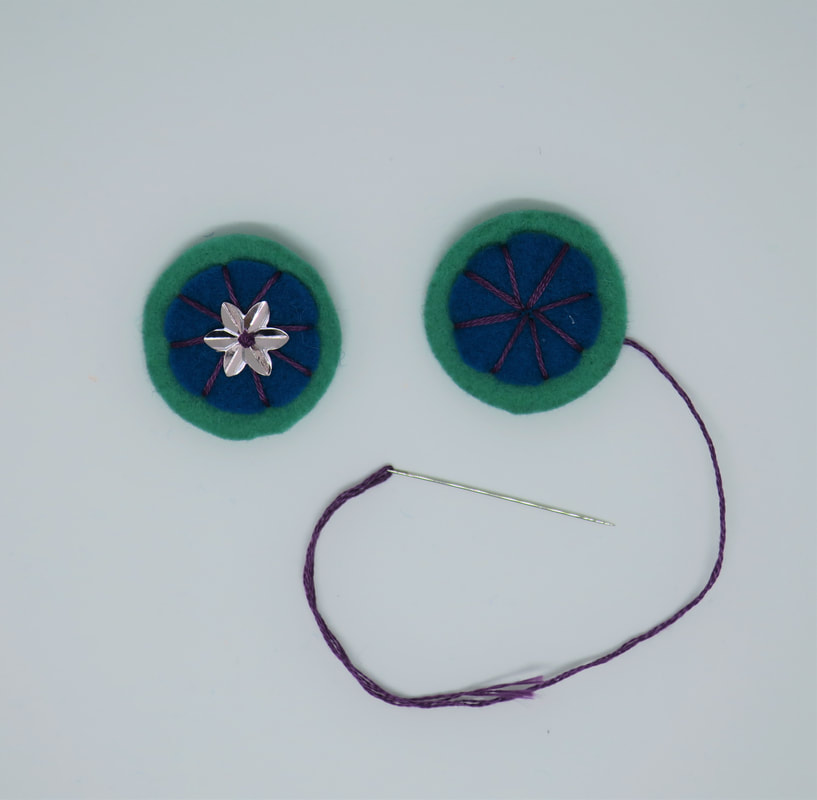 Sew the eyes and forehead shapes on to one skull shape using pins to hold them in place. 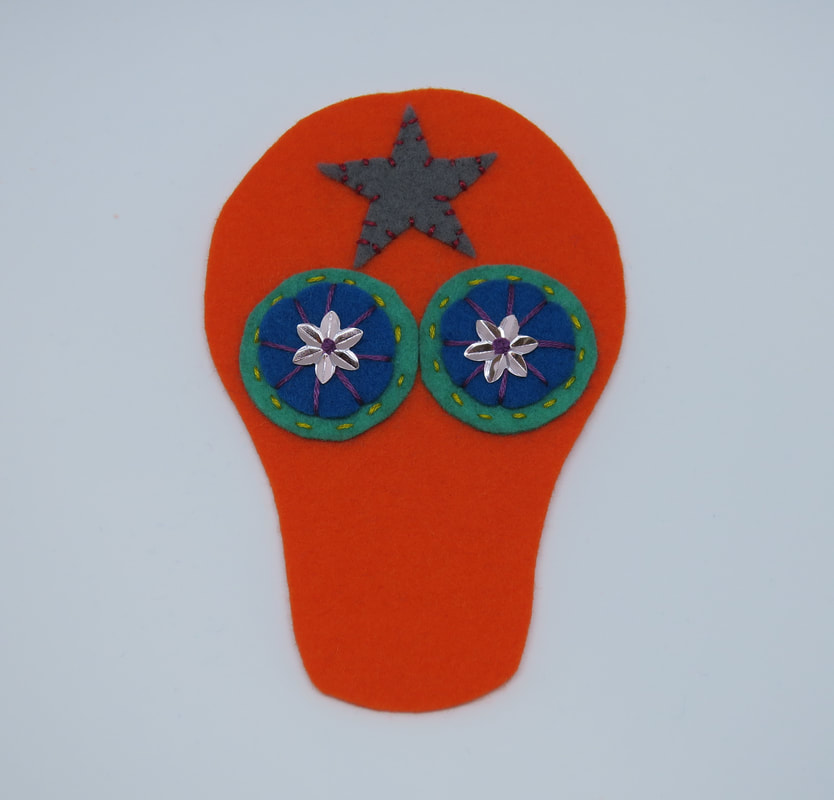 Draw on the mouth lightly in pencil to stitch over, embellish around the temples. Use two lazy daisy stitches for the nose. Pin the two skull shapes together and blanket stitch around the outside leaving a gap to stuff. 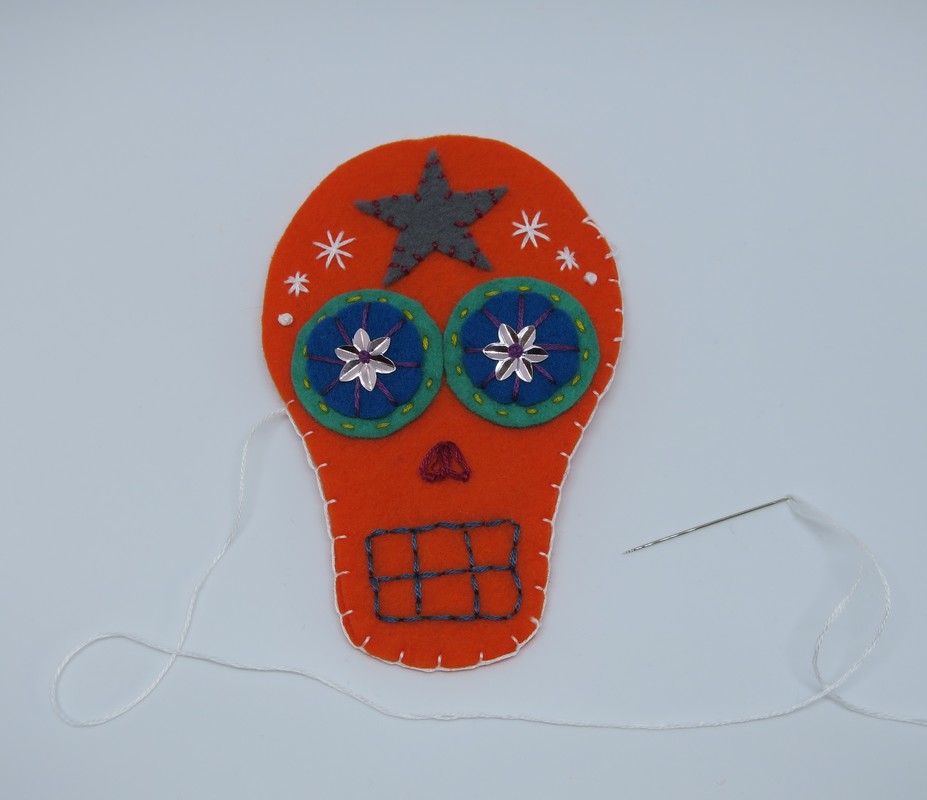 Stuff with hobby fill, then sew the gap closed. From here you can sew a loop at the top to hang or thread them all together for a garland. I used twine and a tapestry needle to do this. Finished.  Extra Tips: You can hang these individually or thread them onto a garland. Increase the pattern size to make an appliqué for a cushion or blanket, even a wall hanging. These are totally customisable, choose bright contrasting colours or muted. Try out all your favourite embroidery stitches. Due to buttons or sequins they may not be suitable as toys for small children. Most of all have fun! Happy Crafting, Rebecca. 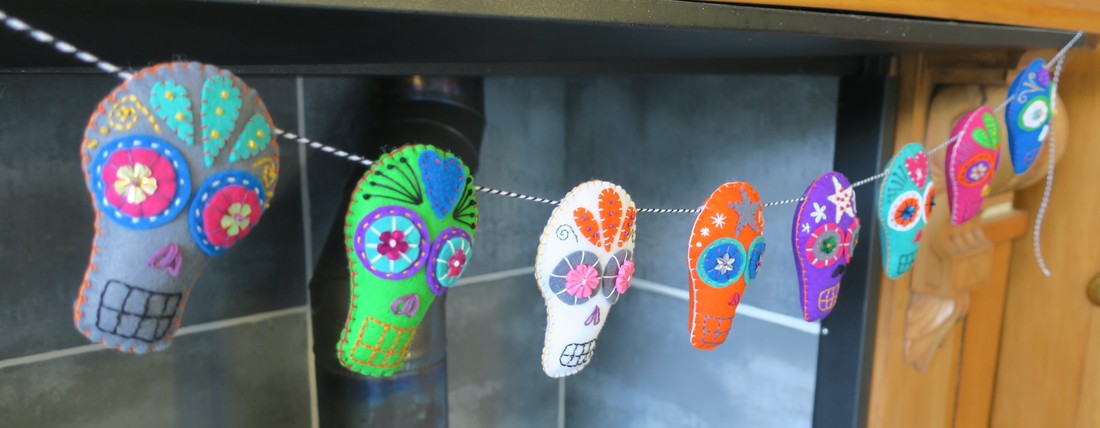 Gosh, what a whirlwind couple of months it’s been! Can you believe it has been a wonderful three months since the launch of The Felt Factory! Since then, I have had the pleasure of meeting some wonderful crafters and makers who love this beautiful 100% Merino Wool Felt as much as I do. Thanks so much!  I thought it was about time I popped in and said Hi! So, Hi! I’m Rebecca, nice to meet you :) I live under the beautiful Mount Taranaki, in a lovely little town on the outskirts of New Plymouth, with my wonderful husband and two rambunctious little boys. I LOVE to craft, sew and create things for our home, my kids and our families, I don’t think there’s anything more satisfying than a handmade gift. 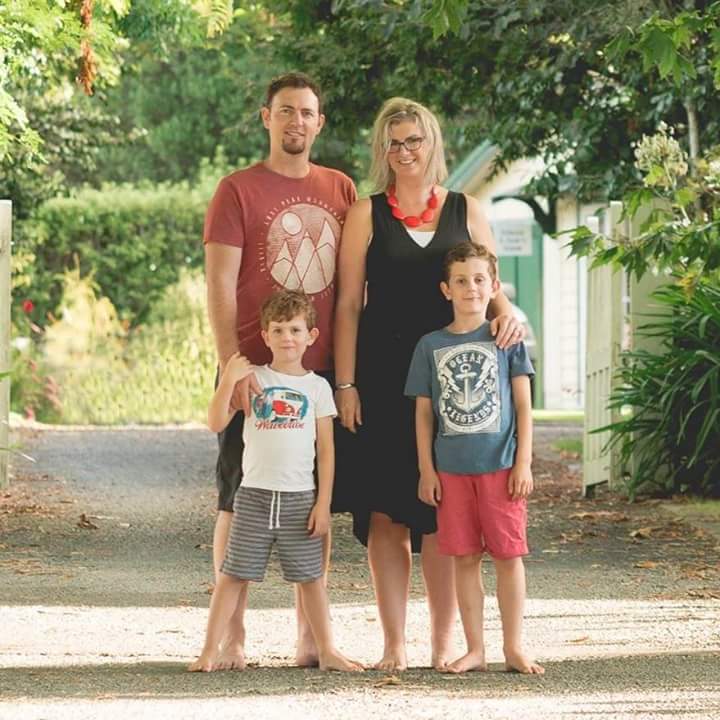 I’m always looking for cool new projects and trends in the crafting world and I’m excited to share my finds with you! Of course I would love to see the projects your working on, drop me an email or post on Facebook or Instagram with #thefeltfactorynz. I have some exciting posts coming up so make sure to keep your eyes peeled! Happy crafting! Rebecca. |
AuthorHi! I'm Rebecca. Archives
March 2023
Categories
All
|
 RSS Feed