|
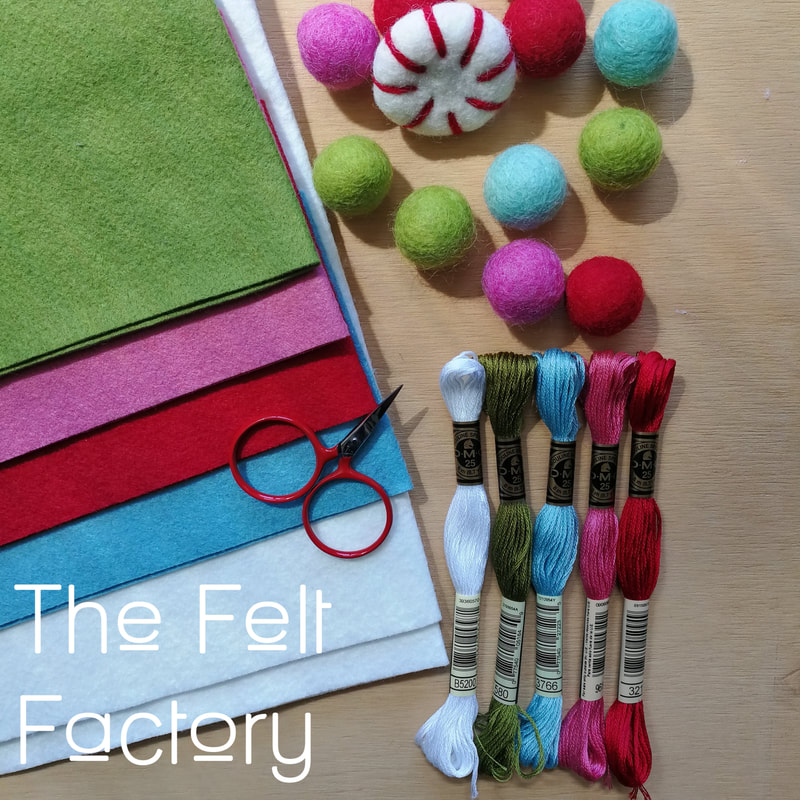
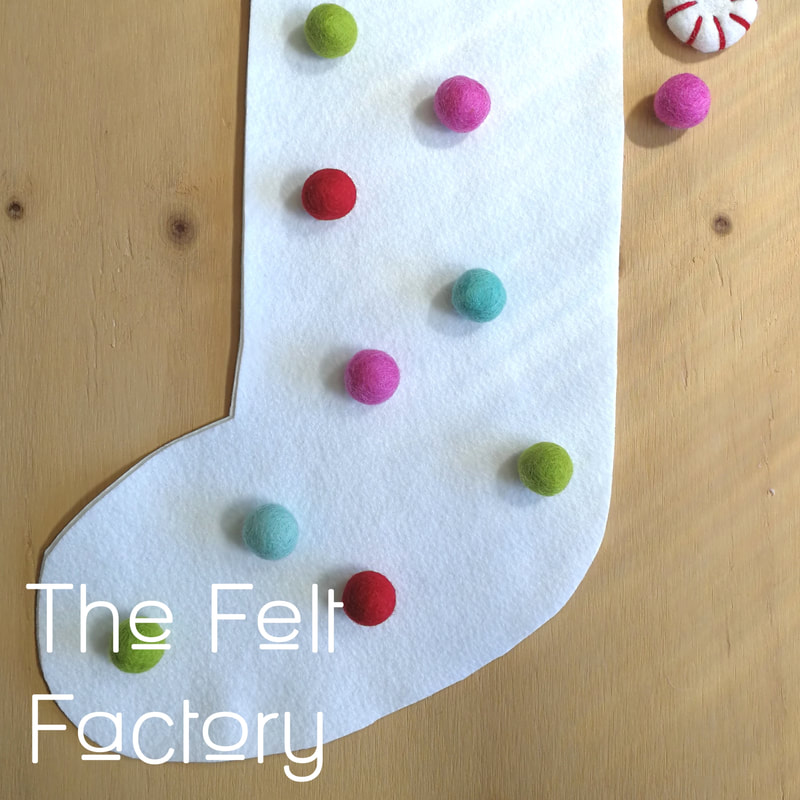
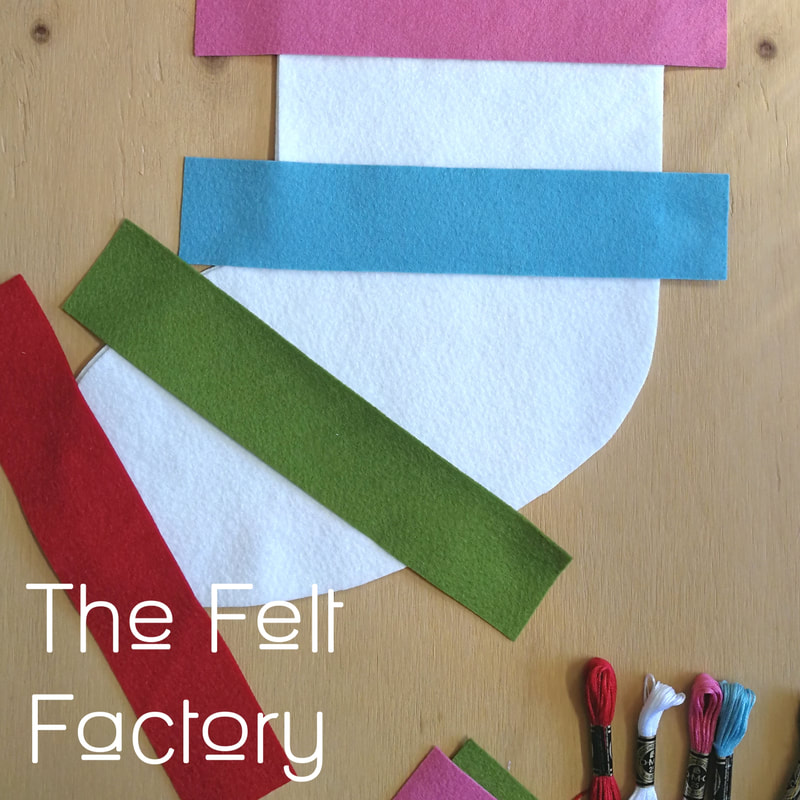
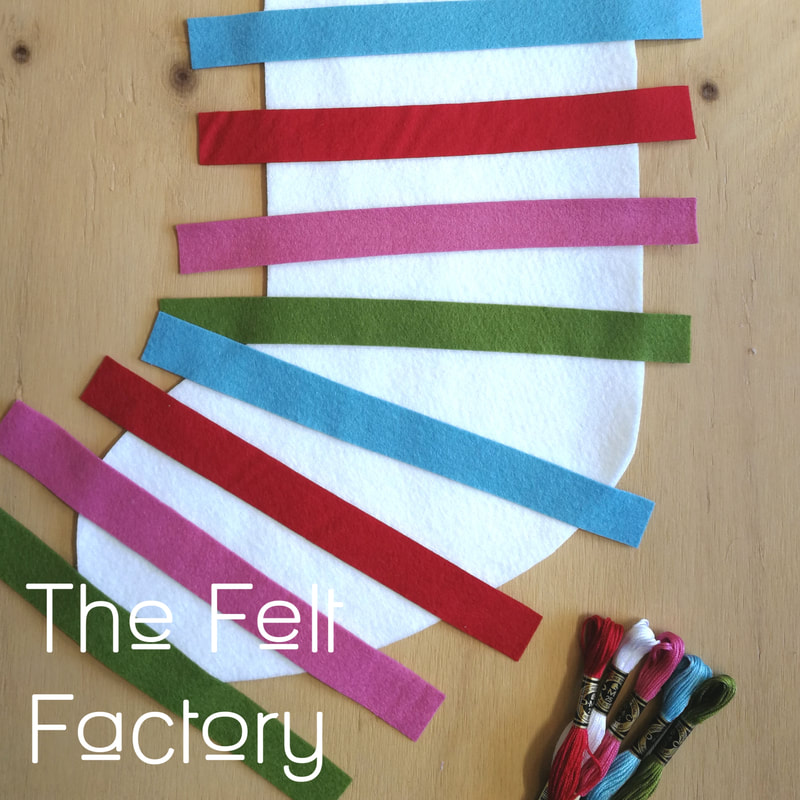
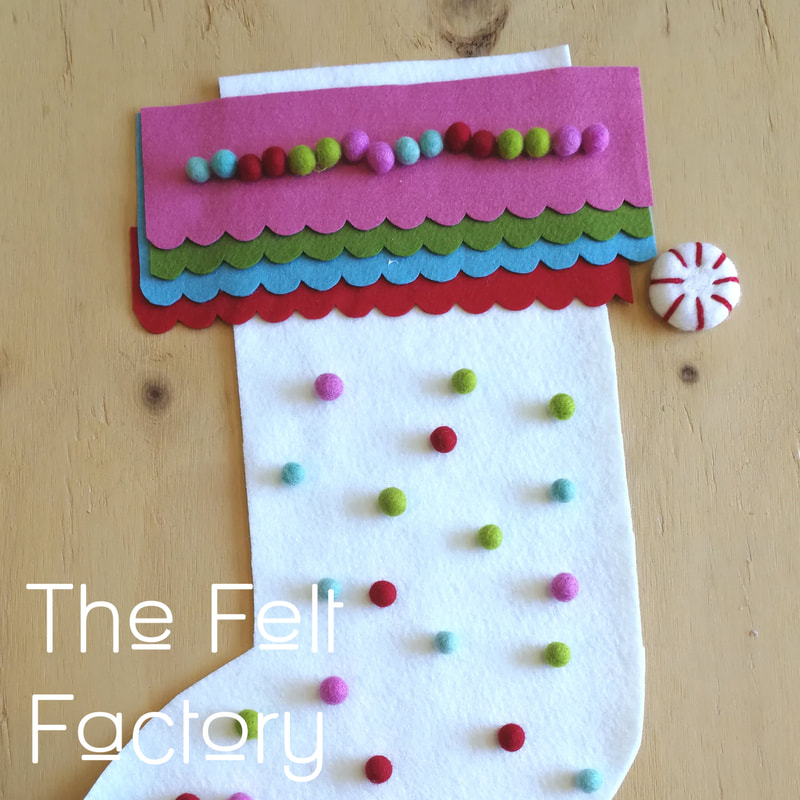
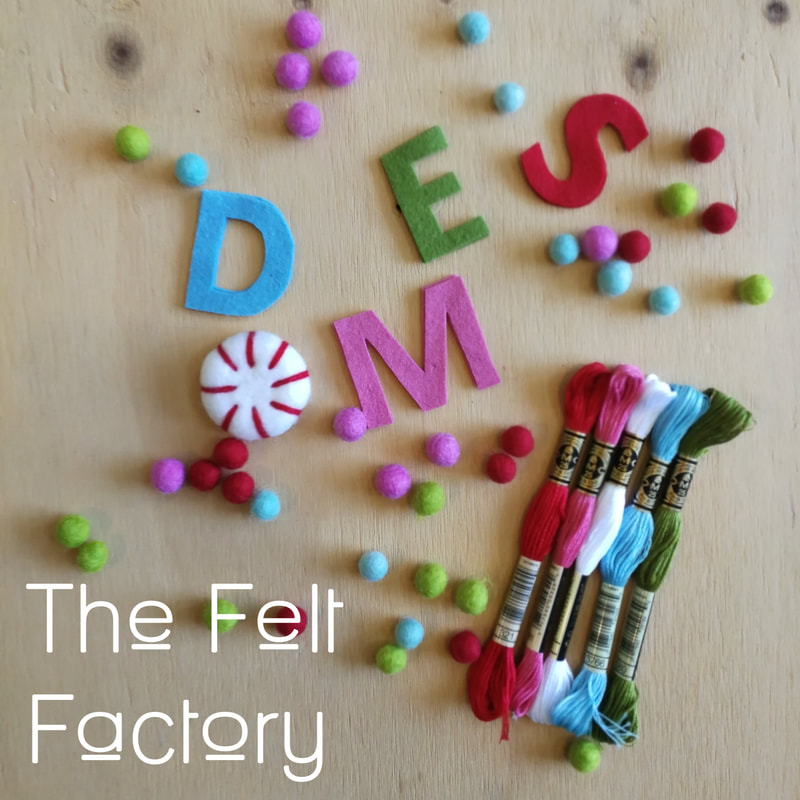
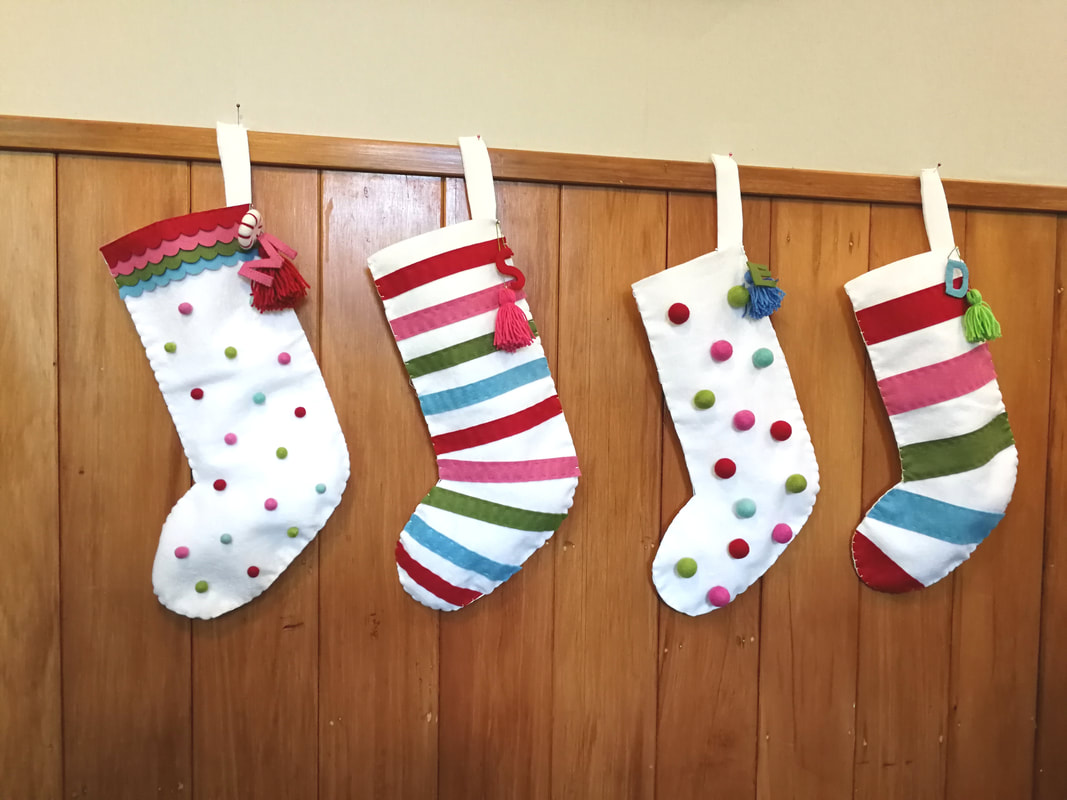
Ages ago I made the boys and I stockings, and I love them, but moving house and a change in colour schemes, we needed a bit of an update. A bit more colour and a lot more felt was called for. I do love the traditional Christmas colours but I wanted something a bit more bright and modern. If you would like to make you own, print out my template and tape up along the join. Using my Wool Blend use 0.3m for a single stocking or 0.5m for two. Plus 0.1 per contrasting colour. And Felt Balls, I've used 1cm and 2cm. I used a straight stitch to attach the stripes and my trusty glue gun for the felt balls. Then a blanket stitch to join the front and back of the stocking. You can use a ribbon or the hanging tab on the pattern in felt. Cute little letters, a peppermint and a few tassels and voila! I'm going to have fun filling these this year.
Happy crafting Rebecca.
1 Comment
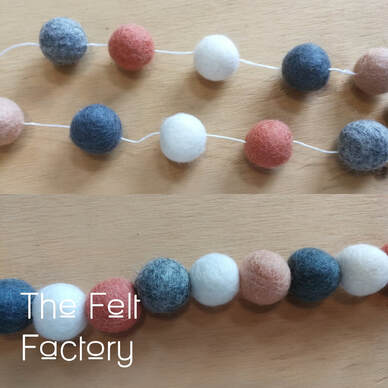
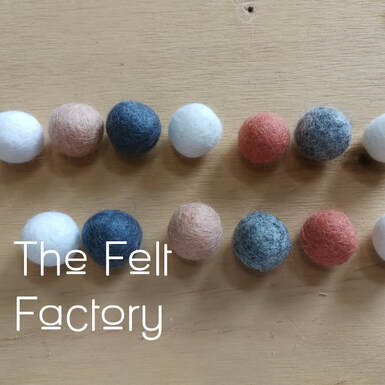
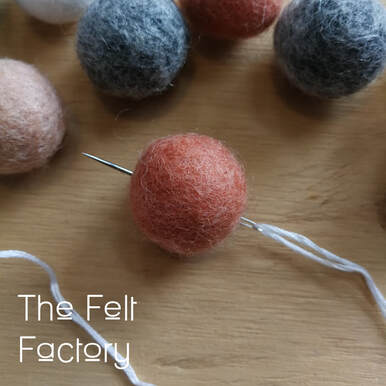
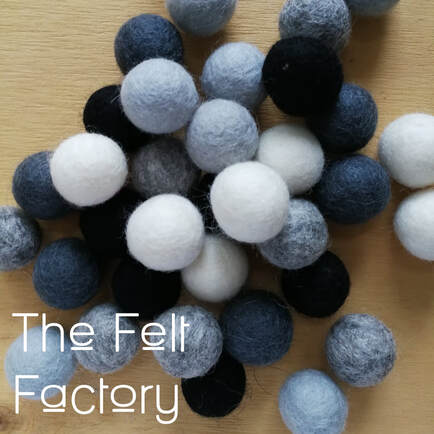
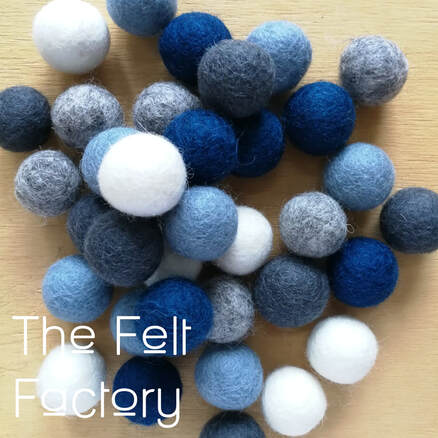
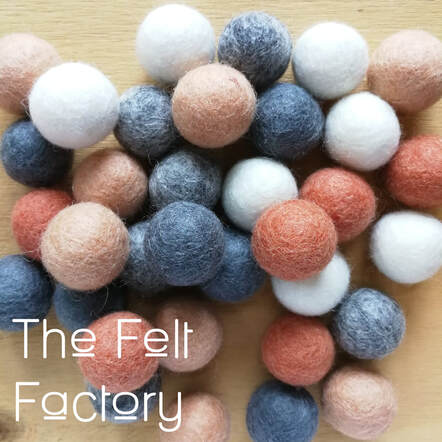
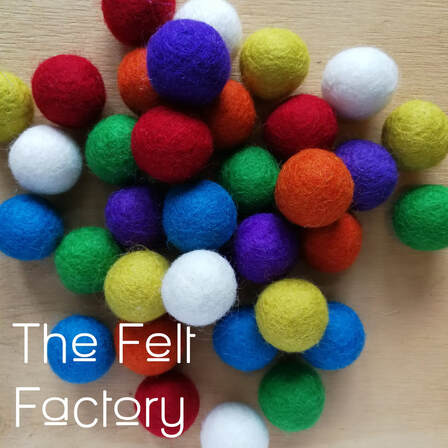
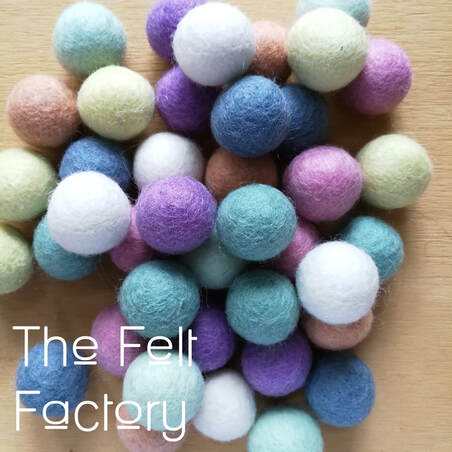
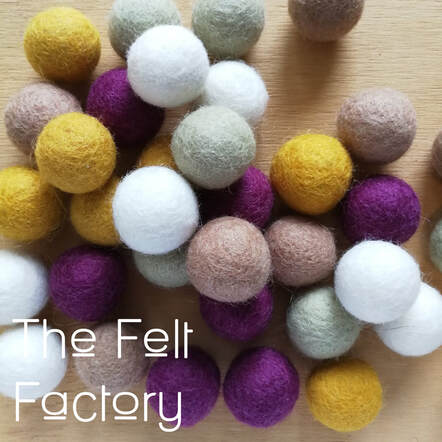
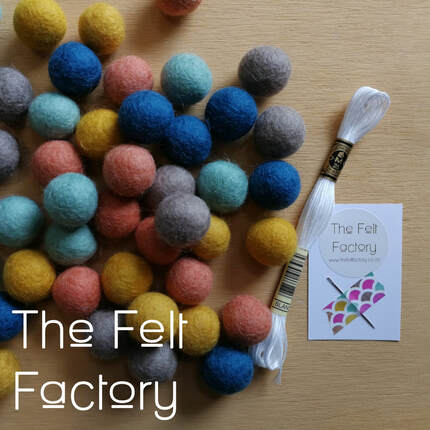
Felt Balls are great and with our felt balls in 93 colours you can make your own beautiful garland in colours to suit your space. I have just added a cute wee Felt Ball Garland Kit to my store which includes a needle, white DMC Thread and an instruction sheet for how to make your own garland. Such a fun project for a new baby, kids room, or birthday party make along. Garlands are a fun addition to kids rooms or to jazz up your craft space. Totally customisable, make any length, add shapes and glitter felt balls. Hang them over bed heads, shelves and curtain rails or pin them to the wall. First things first, choose your colours. Check out my Felt Ball Colour Combinations to get some ideas, I have made up a few samples of colours to get you started. There are no rules about how many colours you need so just have fun. Length will determine how many balls you need, as well as spacing between balls. For example- + A 1.2m long garland with a 2-3 cm space between balls will require approximately 24 Felt Balls. + A 1.2m long garland with no space between balls will require approximately 50 Felt Balls. Start by placing your Felt Balls in the order you would like to string them. Have a play around and see which combination you prefer. Thread your needle, I use our gorgeous DMC stranded thread, available in hundreds of colours to match or contrast your garland. Make sure to sew right through the middle of the ball. There's no need to knot or tie between each one, the balls won't move unless you push them. Once you've finished stringing your balls, you can decide how far apart to space them. Push them close together or space them about 2-3cm to see what you like the most. To hang your garland, tie off a loop at each end and pin to your wall with drawing pins or use command hooks. You can also drape your garland across a picture frame, shelf or curtain rail. Our Felt Balls come in four sizes so you can mix and match not only colours but sizes too. Happy Making. Rebecca. xx Our Felt Ball Garland Kits are all ready for fun crafty projects over the rainy winter months. We have 93 colours of our beautiful 100% NZ Wool Felt Balls which can be a bit overwhelming when choosing a colour palette for garlands and wreaths and other wonderful projects. With this in mind I have put together a couple of my favourite combinations. Monotone is super popular right now. Great for older kids rooms or a neutral space. This combo is White, Dove Grey, Grey Marle, Slate and Black. Brighten up your space with a rainbow garland. This combo is White, Chartreuse, Orange, Red, Kelly, Peacock and Ultra Violet. Or a more pastel rainbow in Ecru, Soft Pink, Arctic Green, Lavender, Apricot, Mist, Sea Spray and Baby Yellow. Our Yellow is a lighter Mustard and looks amazing with Autumnal tones. This one is Ecru, Clay, Yellow, Mushroom and Plum. Finally a beautiful modern combo with all the on trend shades of the moment in Sand, Persian, Sea Spray, Yellow and Melon.
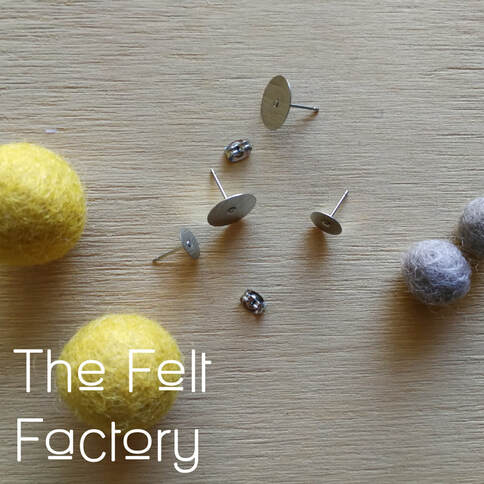
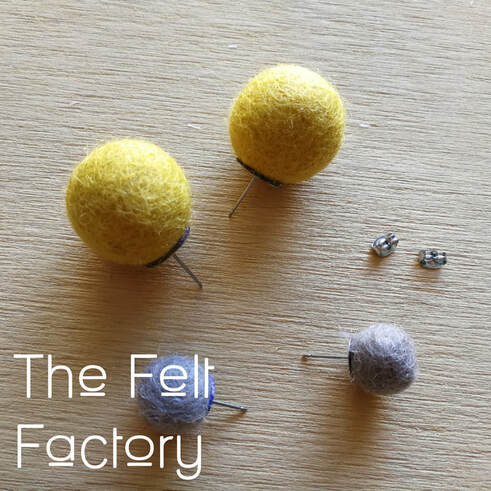
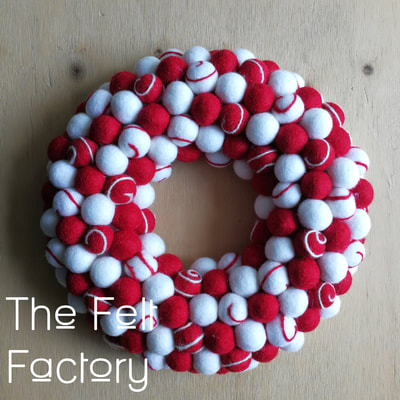
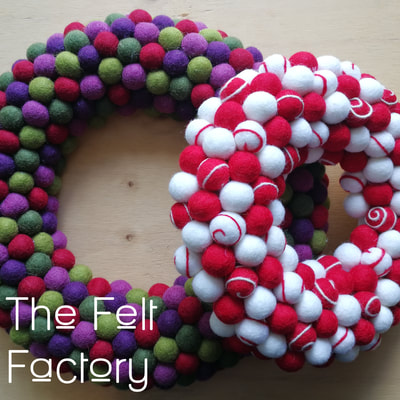
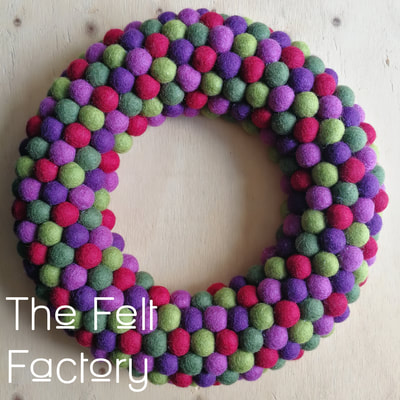
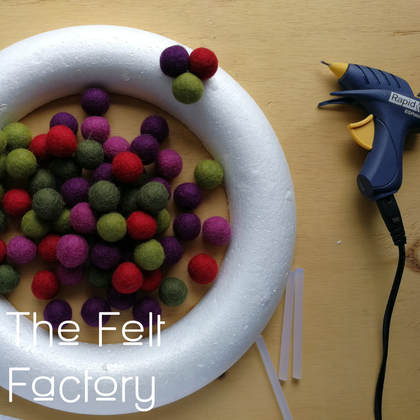
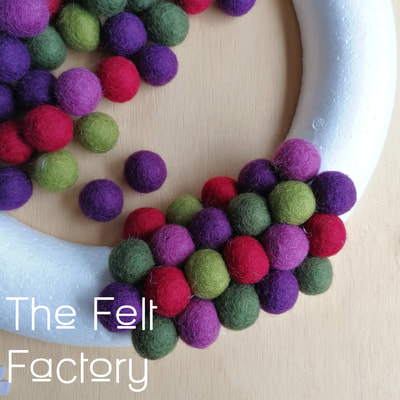
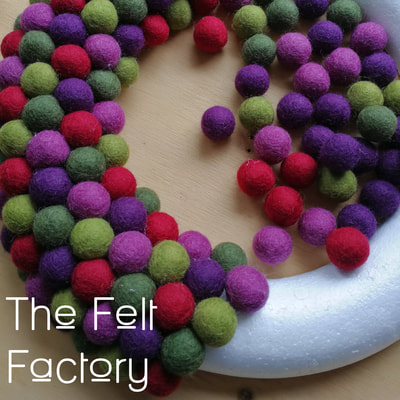
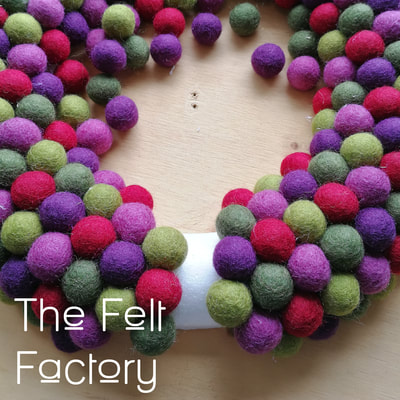
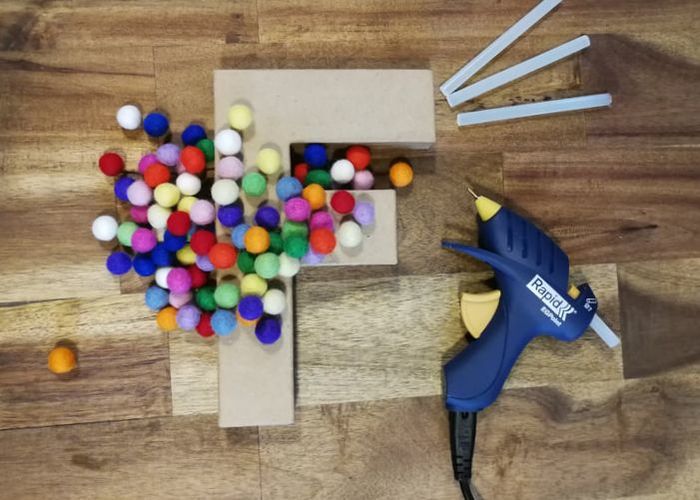
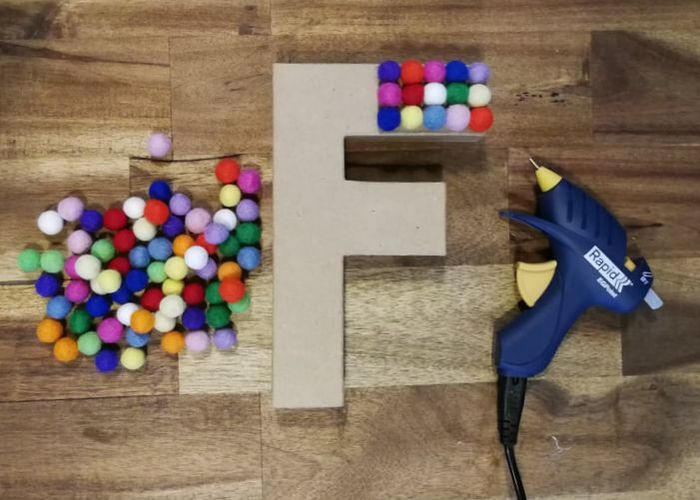
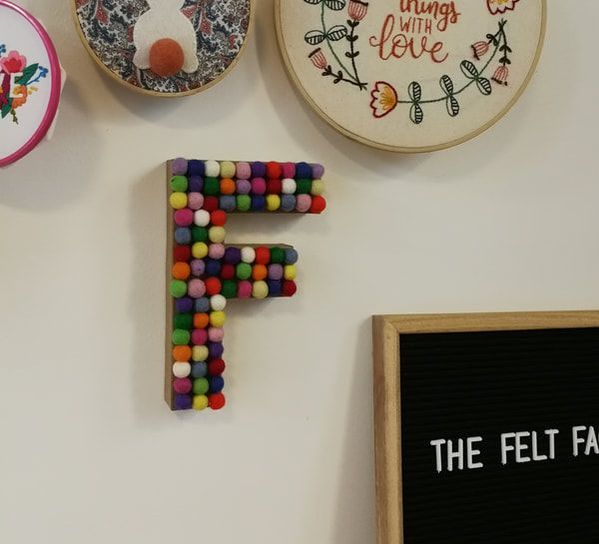
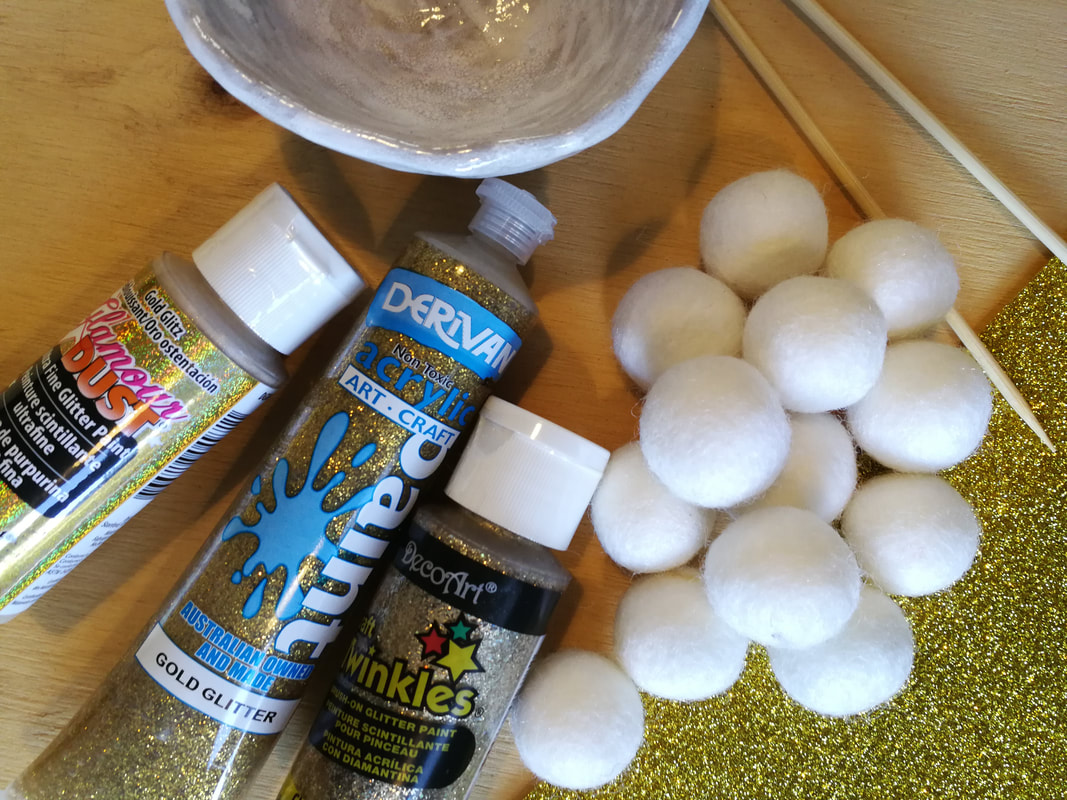
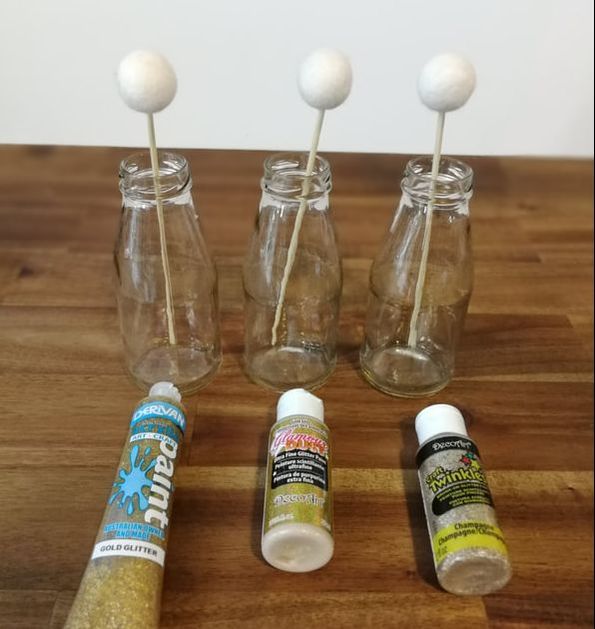
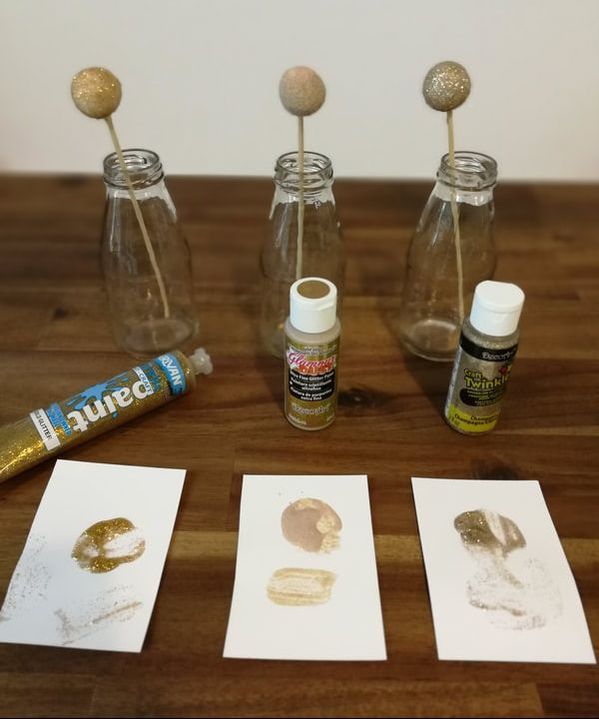
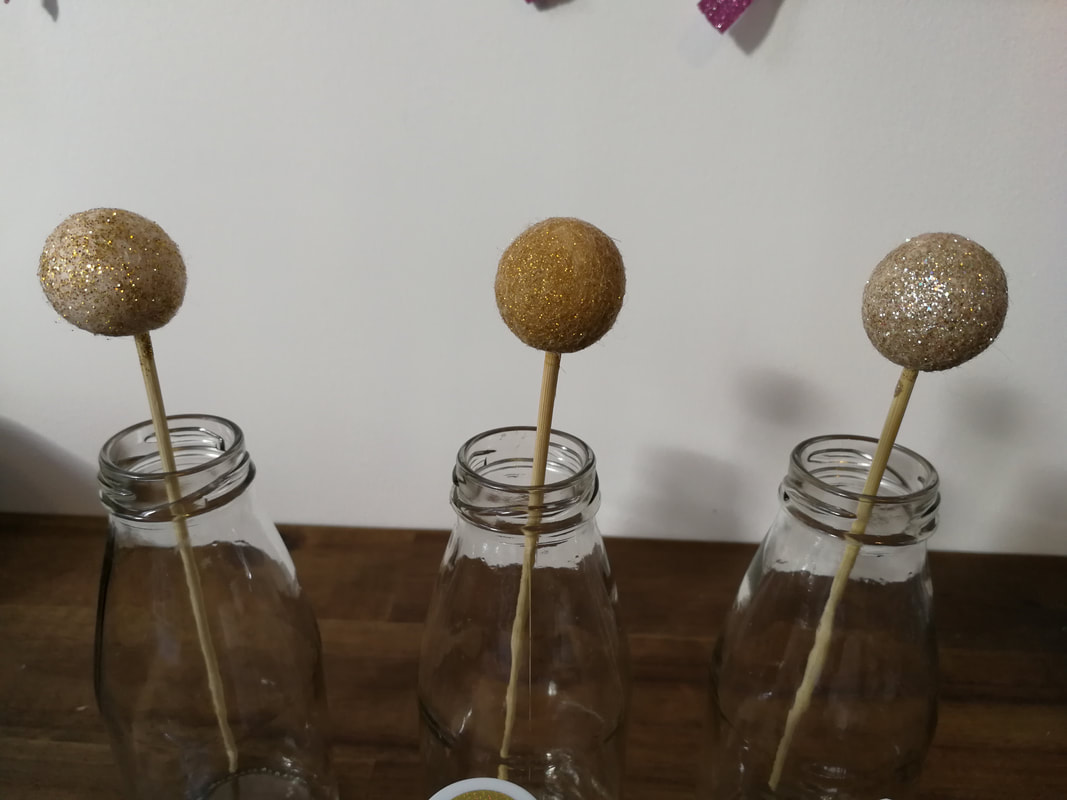
I hope you find some inspiration here. If you have a particular colour set you would like, I'm always happy to help with colour matching. If you are making a few you can purchase one of our Felt Ball Colour Cards which has all 93 colours. Happy Crafting. Rebecca. xx These are definitely my new favourite things. Super simple and really quick to make, these DIY Felt Ball earrings are so cute and with 93 colours of our delicious felt balls to choose from you can match any look. Seriously SO cute! + First things first, choose some of our gorgeous felt balls in your favourite colours. (I used 1cm and 2cm Felt Balls and loved them both.) + Grab your Earring parts from any Jewellery Supply Shop. I used Craft Runner, they have a wonderful selection including sterling silver for my sensitive ears. :) + For 1cm felt balls I recommend 8mm posts and 12mm for the 2cm felt balls. Don't forget the butterflies! The super easy part, fire up your glue gun and pop a small drop on the post, attach your felt ball. Repeat as many times as necessary. ;) With all the beautiful Autumn colours for this season I'm excited to make more of these. Happy Making Bex xx How cool are these! Such a wonderful, simple project to make for your home for Christmas. We now sell two sizes of polystyrene wreaths especially for felt balls wreaths and with our great tips you can make your own. So to start choose which size wreath you'll need, we have 24cm and 35cm. Choose you felt balls, the very best part!! for the 23cm wreath you'll need 150 2cm balls and the 35cm wreath you'll need 250 2cm balls. I used 5 colours in my large wreath so I had 50 of each colour for my smaller wreath I chose 50 of each red and white and 25 of each stripe. Choose any colours you like to make this totally unique and wonderfully yours. Mix in a few larger sized balls to give a difference again. A glue gun is the very best way to stick your felt balls to your wreath. Make sure you have 8-10 sticks at the ready. Starting at the top of your wreath, applying a dot of glue to each ball to secure. Continue around pushing the balls together to close gaps. Have fun. Rebecca xx DIY Letters with Felt Balls With the school holidays around the corner, we are wishing and hoping for fine weather, however, as usual I have a few activities up my sleeve for a rainy day. These letters are super fun and easy to make in an afternoon. I choose my letter from a great selection in my local craft store. They are available in a few cute fonts and a whole lot of shapes. In papier mache or wood they are around 15cm tall for around $9. Then for the felt balls! I have used 1cm balls for this project in 14 colours with six of each. Starting in one corner, glue the balls on in any order you please. Such a fun little project. Happy Crafting, Bex. PS I absolutely love my new glue gun, its perfect for all my little bity projects. It’s a Rapid precision point with a removable cord, so handy! Who doesn't love glitter. I think there is always an excuse to bling up a project with a bit glitter. I've been stewing over this idea for a while now, and a bit of yuck weather is the perfect opportunity to give it a go. I don't know about you but I need glitter felt balls in my life and wasn't quite sure where to start, so an experiment was in order! I popped down to my local craft shop and bought every glitter fabric or standard glitter paint I could get my hands on. Those turned out to be: Derivan Acrylic Gold Glitter $5.99 DecoArt Glamour Dust- Gold Glitz $7.99 DecoArt Craft Twinkles- Champagne $7.99 Other bits I used were Wooden skewers Paint Brush White Felt Balls With supplies at the ready, off I went. To get started I pushed the felt balls onto the skewers, then with each paint, painted each of my three felt balls. The Derivan had quite chunky glitter and I needed to put quite a lot on for a good coating of glitter. The Glamour Dust has a yellow tint to the paint, I hoped it would dry clear but it didn't. It was quite difficult to see where the glitter was. The Craft Twinkles was very promising, fine glitter with good coverage. Once dry, they all have quite different looks, and I can see more application of paint would change them all again, depending what you want to do with them. I was pleased to find the glitter is firmly fixed to each, with only a slight bit of shedding. As you can see, the Derivan was quite patchy, it the glitter was a great bright gold colour. The Glamour Dust did have a background colour and the glitter was fine and sparkly. The Craft Twinkles was my pick, a great colour and coverage and a plus it comes in a 11 different glitter colours. I hope you have fun with this, I'll really did. Next up, using these for a few cute projects. Happy crafting, Bex. Xx |
AuthorHi! I'm Rebecca. Archives
March 2023
Categories
All
|

 RSS Feed