|
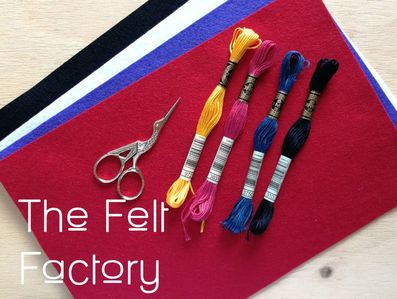
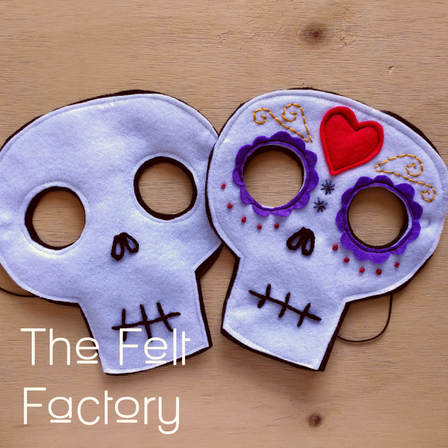
We love a good excuse for a dress up and with Halloween right around the corner we thought a couple of cute felt masks were just the thing for a last minute make to scare the neighbours. What you'll need: Our Mask Template 1x sheet 30 x 20cm White Felt 1x sheet 30 x 20cm Black Felt Small scraps of red and purple felt (about 7cm x 7cm) Embroidery thread 28cm length elastic + Print out the pattern and cut out. + Cut one skull in black felt and another slightly smaller in white felt. + Cut embellishments out of chosen colours. + Trim elastic to size. + Pin together Black and white skulls with elastic in between, tie a knot in each end of the elastic to ensure it does not slip out. + Hand or machine stitch around the outside edge of the mask. + Pin and sew embellishments. + Stitch mouth using black thread and a backstitch and the nose with large lazy daisies. Have fun with this pattern and Happy Halloween. Rebecca. xx
0 Comments
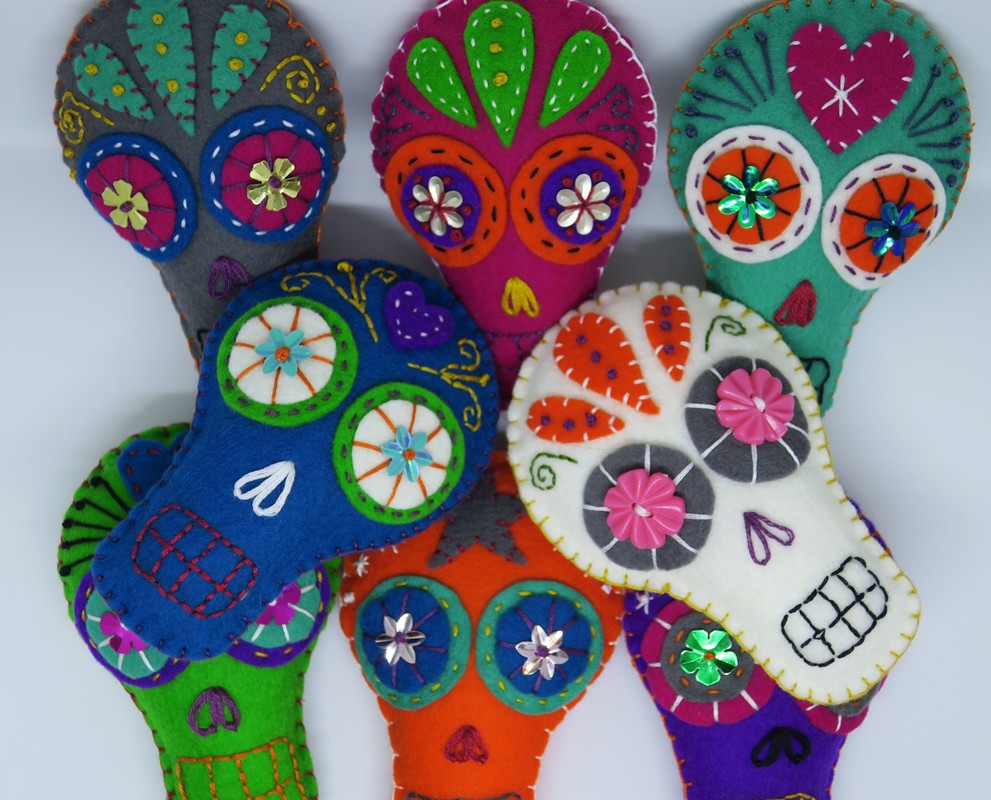
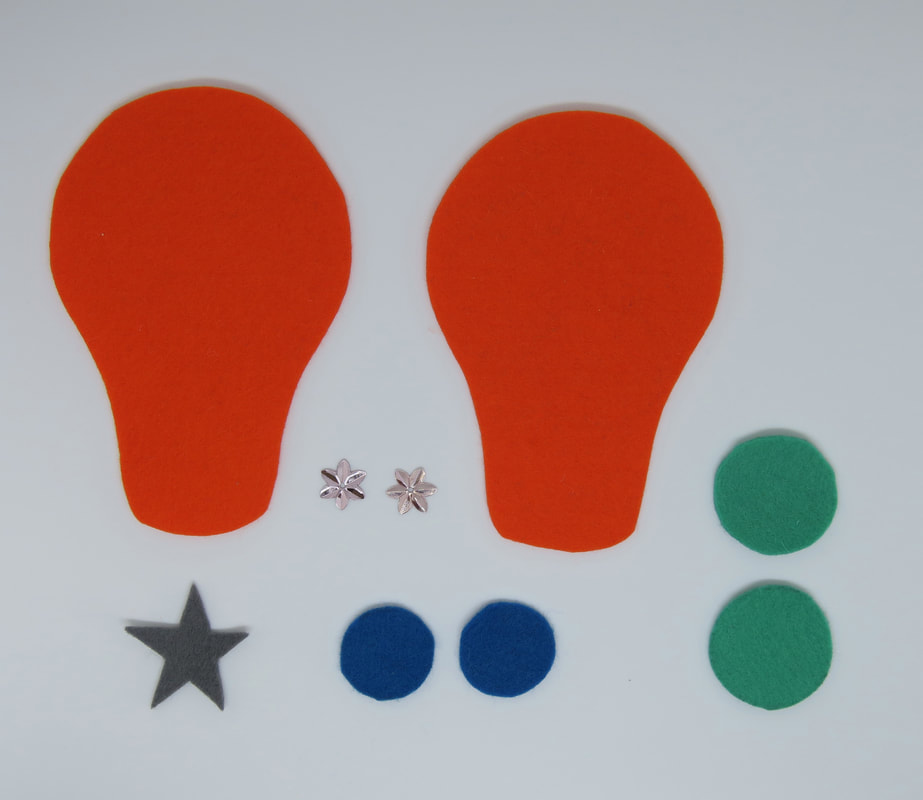
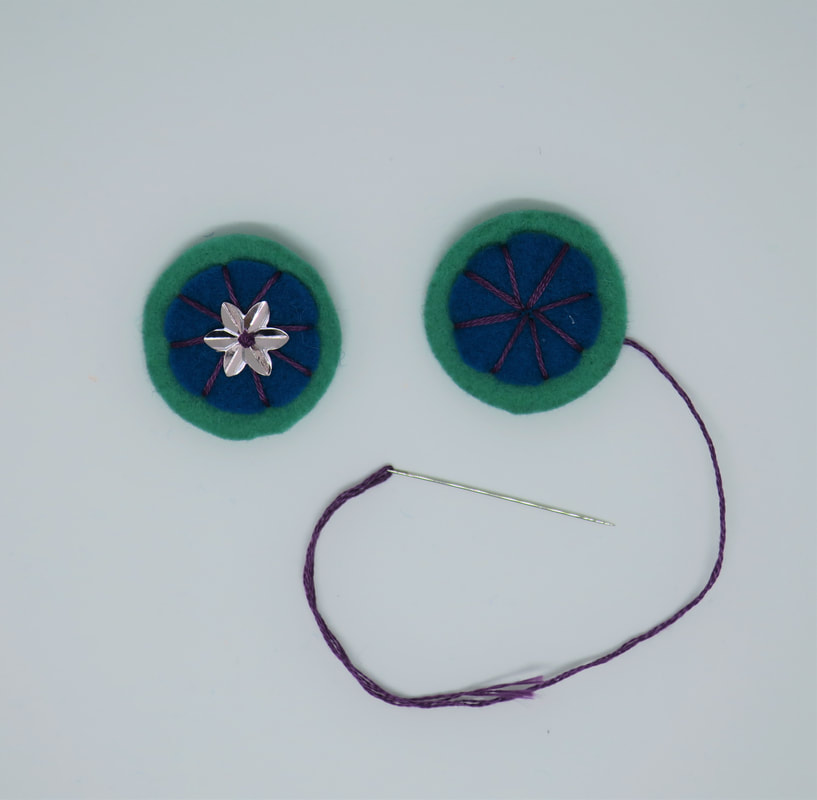
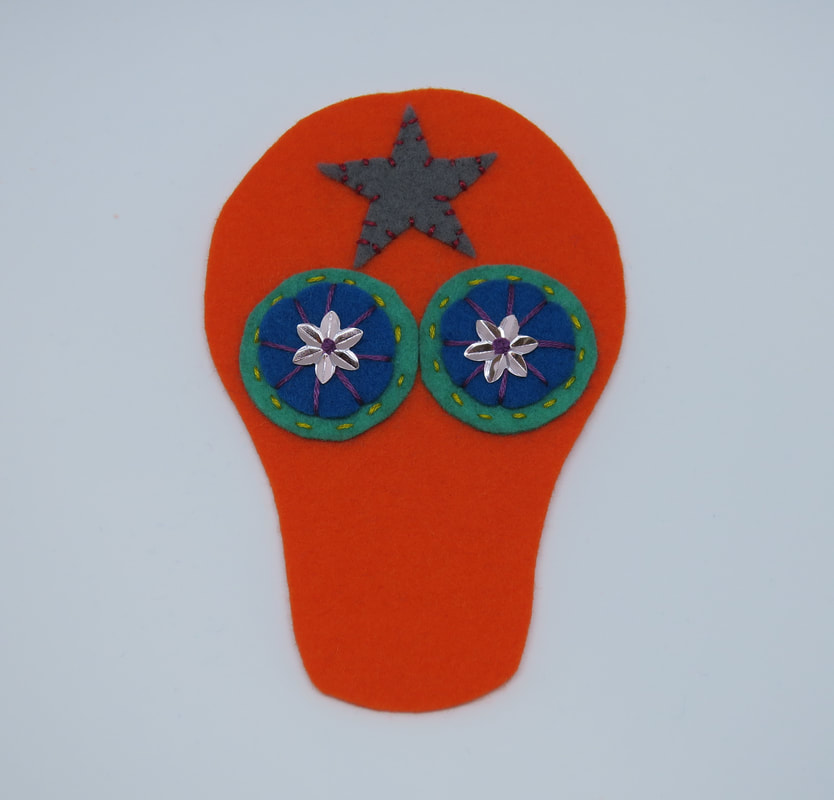
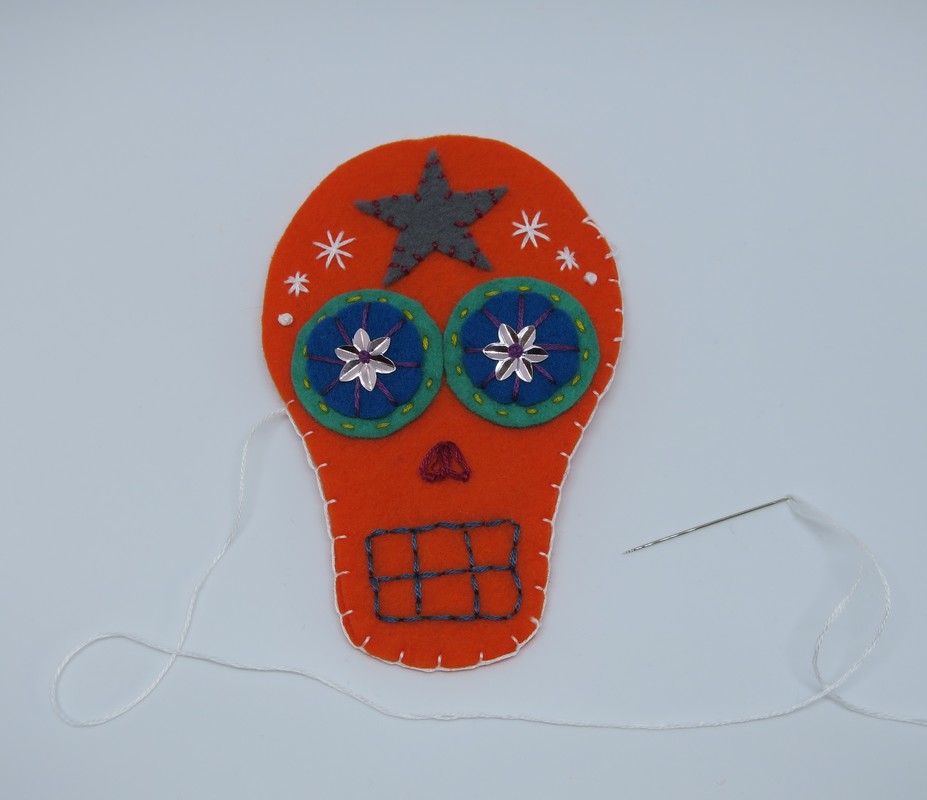
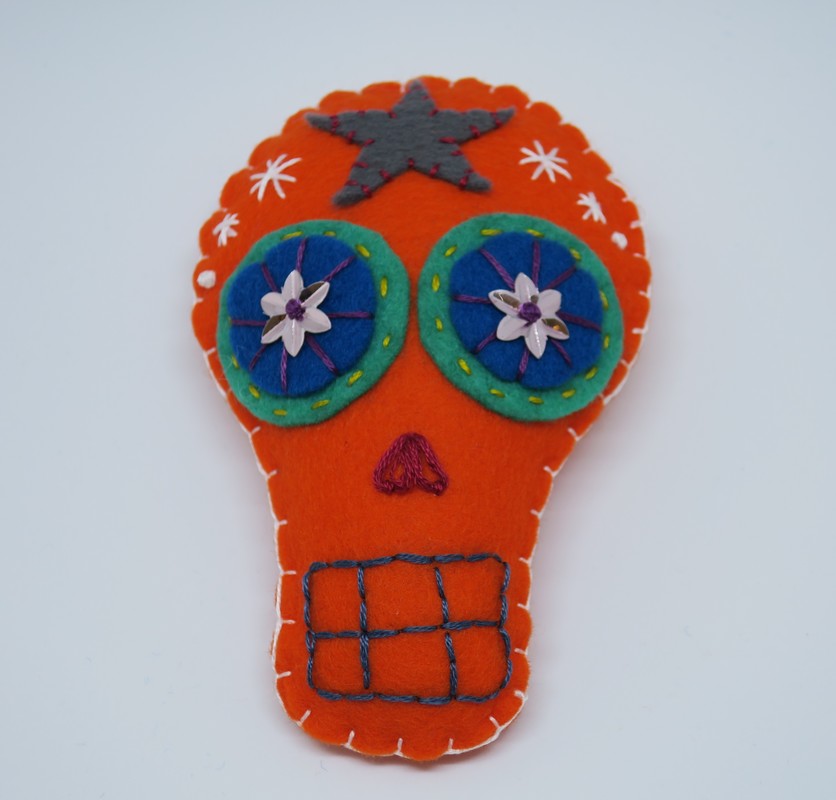
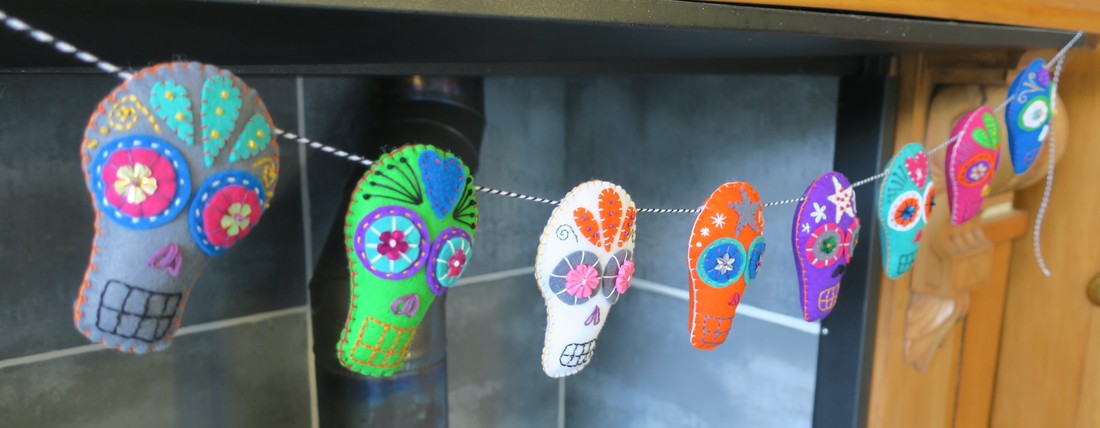
If you follow me on social media you might have noticed the Sugar Skull project I’ve been working on. I absolutely LOVE sugar skulls. The perfect craft for the season. Well, I’m finished! I made 8 of the cute we guys altogether and strung them up as a garland over the fire place. They are very cute and a little brighter than our usual orange, black and white for Halloween. Anyway, it's my absolute pleasure to share my pattern and a wee tutorial about what you'll need and how to put them together. So here goes. You will need:
Let’s go! Cut out the pattern and pin it to your felt. I’ve given you a couple of options for the forehead shapes, you will only need one per skull. Cut carefully around the patterns. Thread you embroidery needle with 3 strands of embroidery floss and sew the eye circles together, then fix the sequin or button. Sew the eyes and forehead shapes on to one skull shape using pins to hold them in place. Draw on the mouth lightly in pencil to stitch over, embellish around the temples. Use two lazy daisy stitches for the nose. Pin the two skull shapes together and blanket stitch around the outside leaving a gap to stuff. Stuff with hobby fill, then sew the gap closed. From here you can sew a loop at the top to hang or thread them all together for a garland. I used twine and a tapestry needle to do this. Finished. Extra Tips: You can hang these individually or thread them onto a garland. Increase the pattern size to make an appliqué for a cushion or blanket, even a wall hanging. These are totally customisable, choose bright contrasting colours or muted. Try out all your favourite embroidery stitches. Due to buttons or sequins they may not be suitable as toys for small children. Most of all have fun! Happy Crafting, Rebecca. |
AuthorHi! I'm Rebecca. Archives
March 2023
Categories
All
|

 RSS Feed