
|
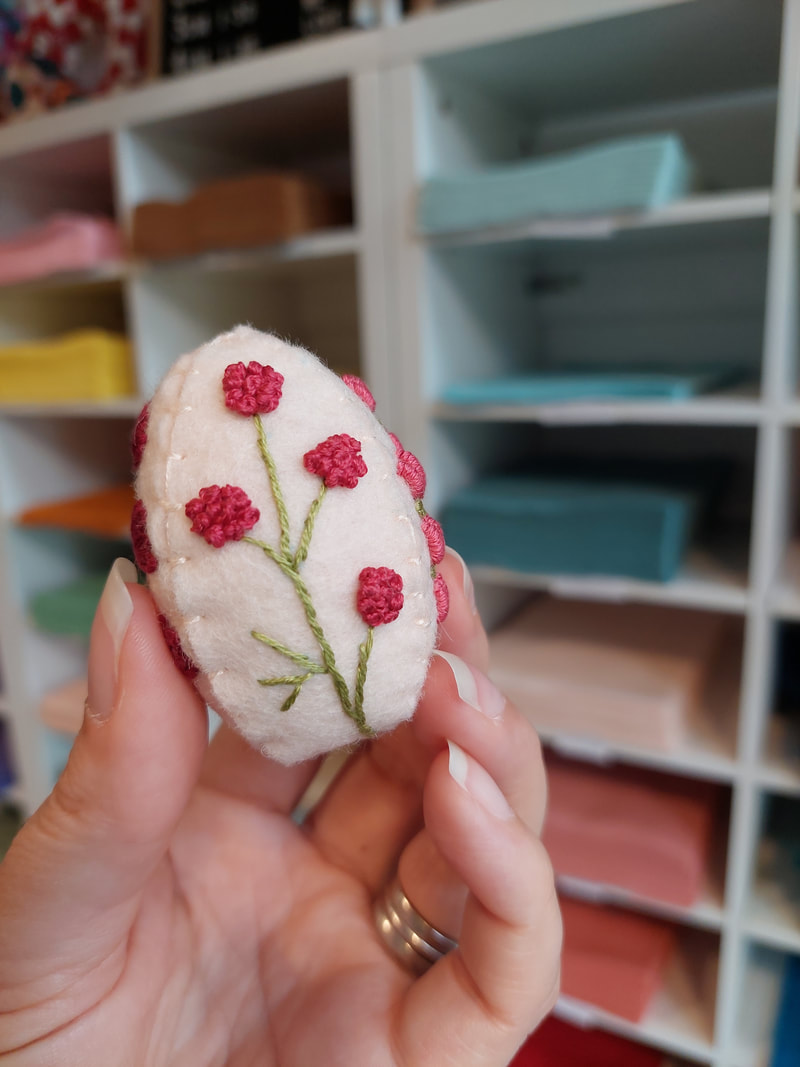
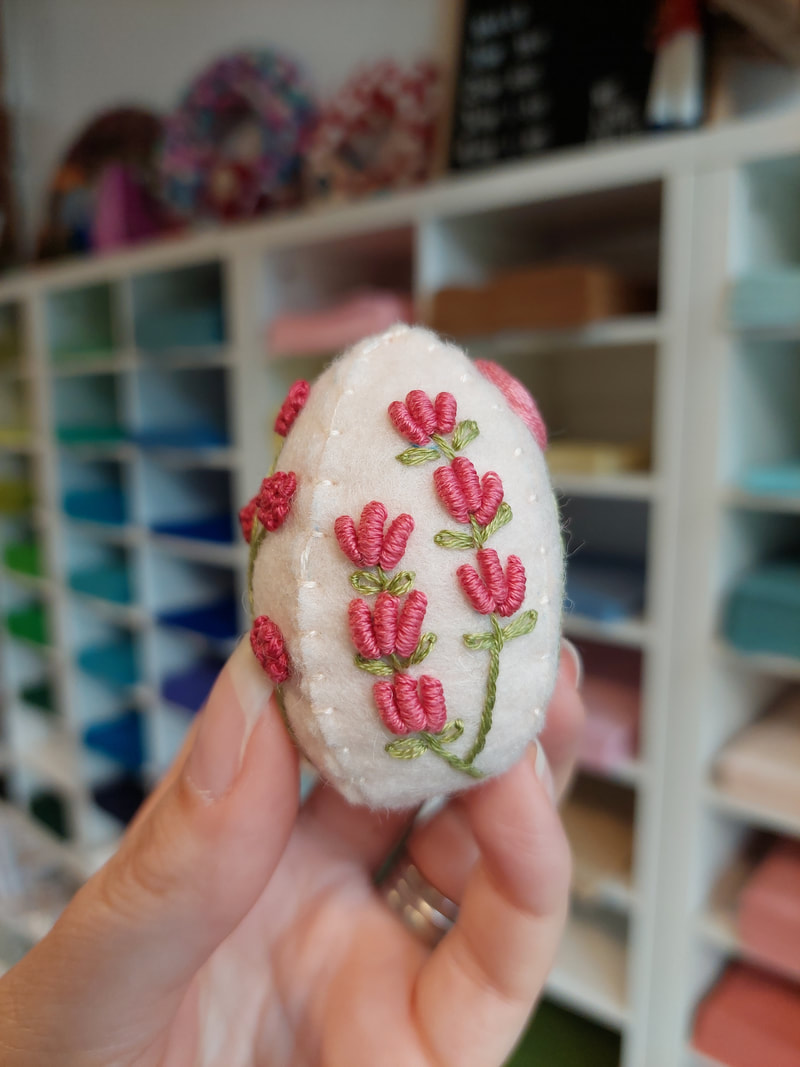
I've had so much fun making this cute little egg pattern. Make one or a few, swap out for another of your favourite stitches. I hope you enjoy making this one. 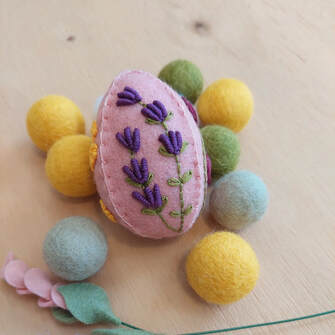 You will need- + A sheet of 100% Merino Wool Felt 12cm x 20cm + DMC Stranded Thread, I have six colours, one for each flower, a stem and to stitch up the egg. + Embroidery Needle + Hobby Fill + Sticky Solvy - optional + Egg Pattern 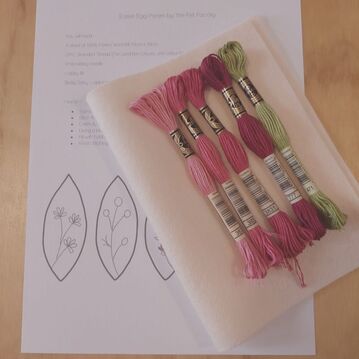 How to - + Transfer the stich pattern onto your felt. + Stitch the flowers using six strands and three for the stems. 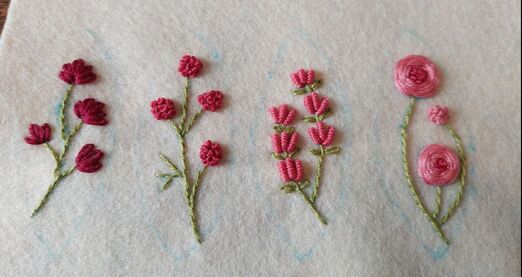 + Carefully cut out your egg panels 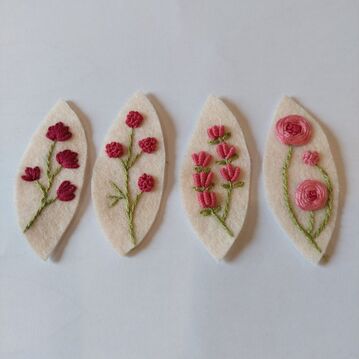 + Using a blanket stitch with three strands of DMC. Stitch three sides together and halfway down the fourth. + Fill with hobby fill or felt scraps + Finish stitching up the last side and secure So cute.
Have fun and craft on. Rebecca xx
0 Comments
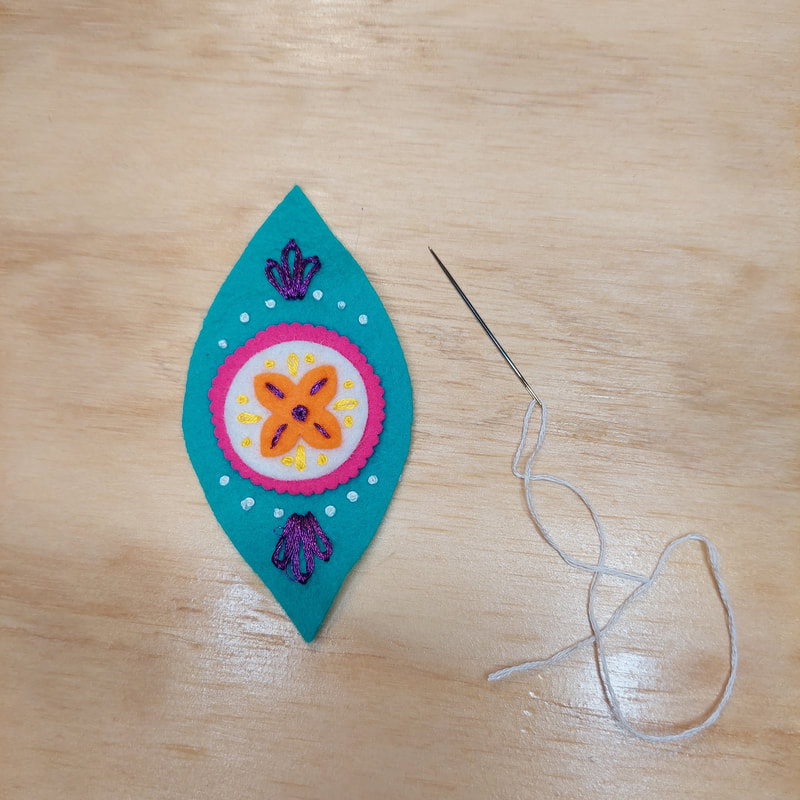
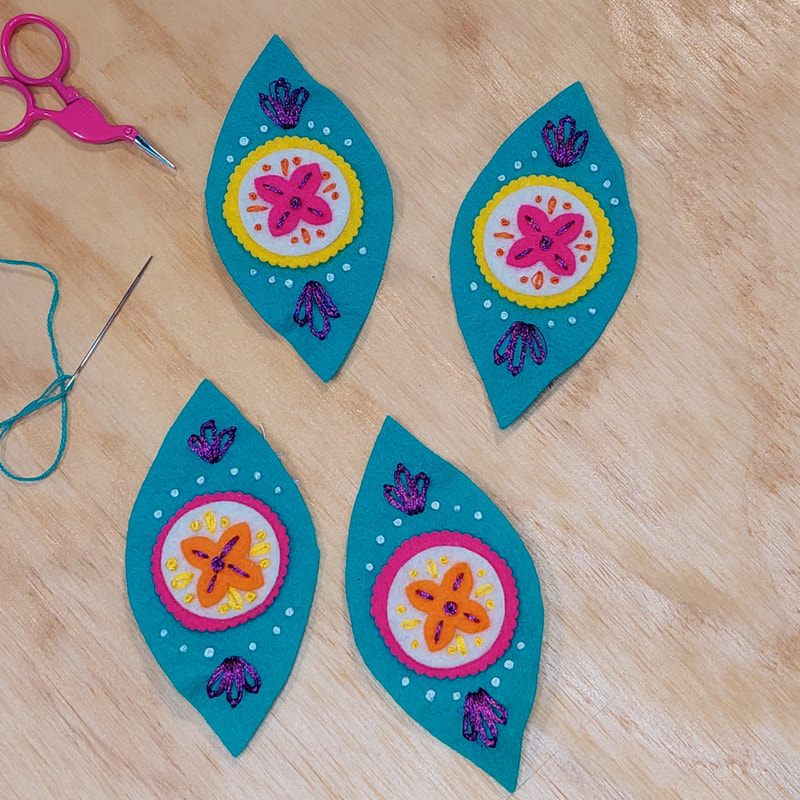
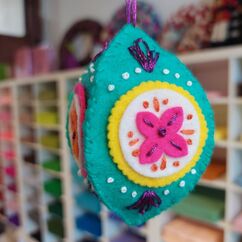 This fab ornament has been on my mind for while. Bright and fun I have made it in our gorgeous merino wool felt as I've intended it to be an heirloom. Choose your own colours and make a few to look beautiful en masse on your tree this Christmas. Supplies + 100% Merino Wool Felt Sheets + Contrasting DMC stranded thread + DMC Light Effects thread + Hobby Fill + Erasable Marker + Needle + Scissors + Tacky Glue + Dress My Craft Die- four petal pointed flower (optional) + Sizzix Framelits Die - Circles (optional) + Sizzix Framelits Die - Scalloped Circles (optional) + Christmas Ornament Pattern Directions 1. Print our Christmas Ornament Pattern, cut out pieces. Use erasable marker to trace around the pattern pieces onto the felt and cut out. 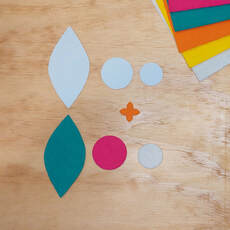 2. Cut die pieces or use pinking shears to cut a fancy edge. Use any shape you like for the center, a star or flower shape. I have used the middle sized die from Dress My Crafts four pointed petal flower die set. Super handy if you have a die cutting machine, otherwise freehand cut a shape to suit. 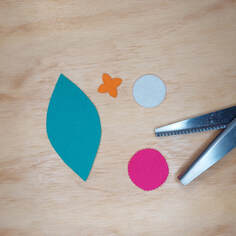 3. Use a little Tacky Glue to fix the pieces together so you're not chasing the small pieces around your craft bench. 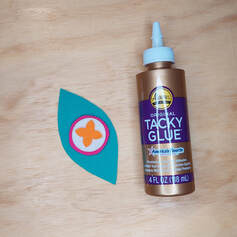 4. Using three strands of DMC thread, start stitching you favourite stitches in contrasting colours. I have used lazy daisies, french knots and a straight stitch. Mix up your threads and try the Light Effects for a bit of bling, its a bit tricky to use but well worth the effort ;) 5. Stitch up three sides of the ornament using a whipstitch or a blanket stitch. On the fourth side stitch halfway closed so the top remains open for stuffing. Stuff your ornament with hobby fill or similar. 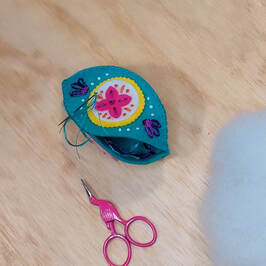 6. Finish stitching to the top of the ornament and tie off your thread. Take a length of 20cm of the Light Effects thread, stitch through the top of the ornament and knot for hanging. 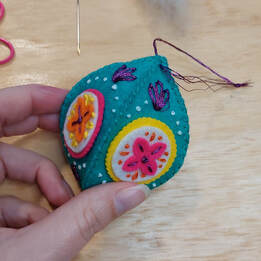 Have fun with this pattern by incorporating sequins and beads and different shapes and colours to suit your decor for the season.
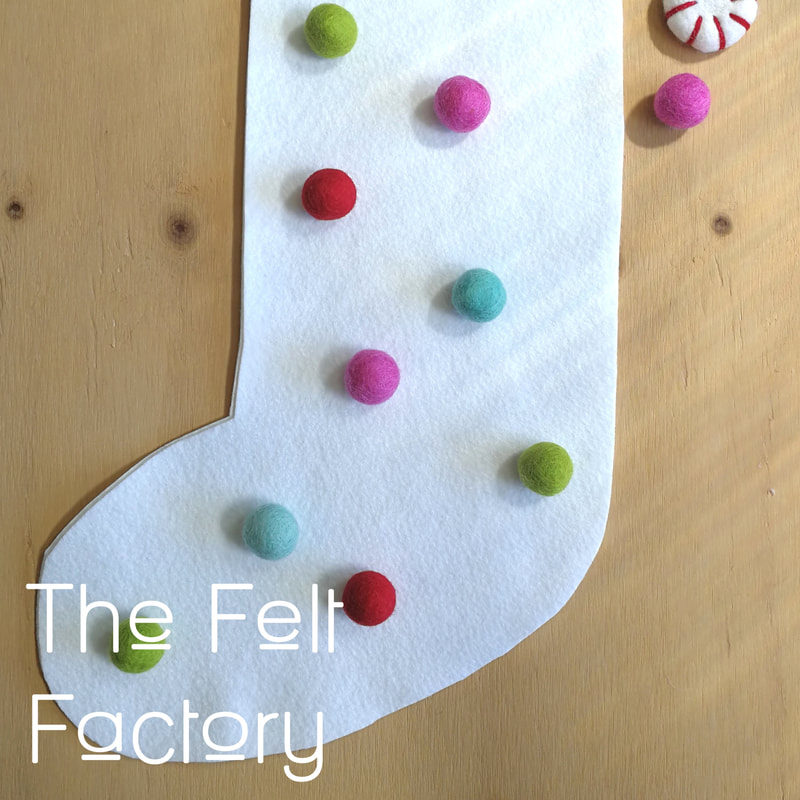
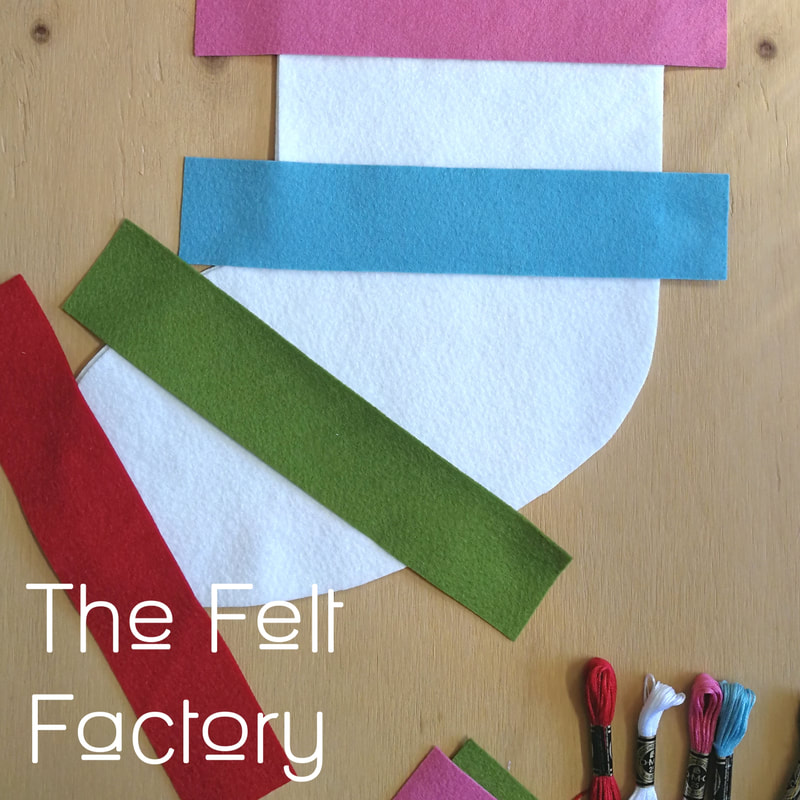
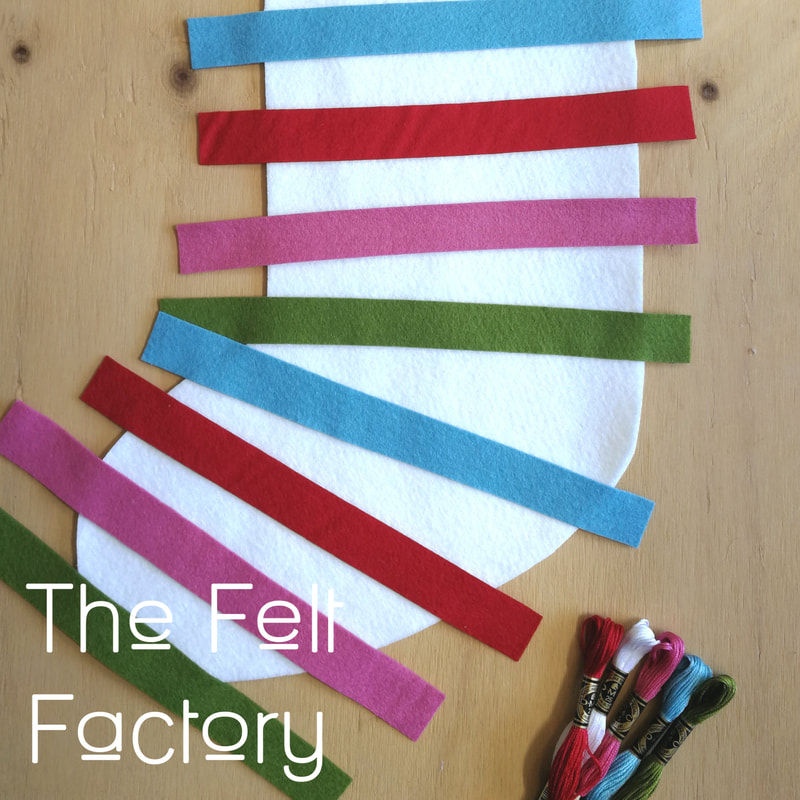
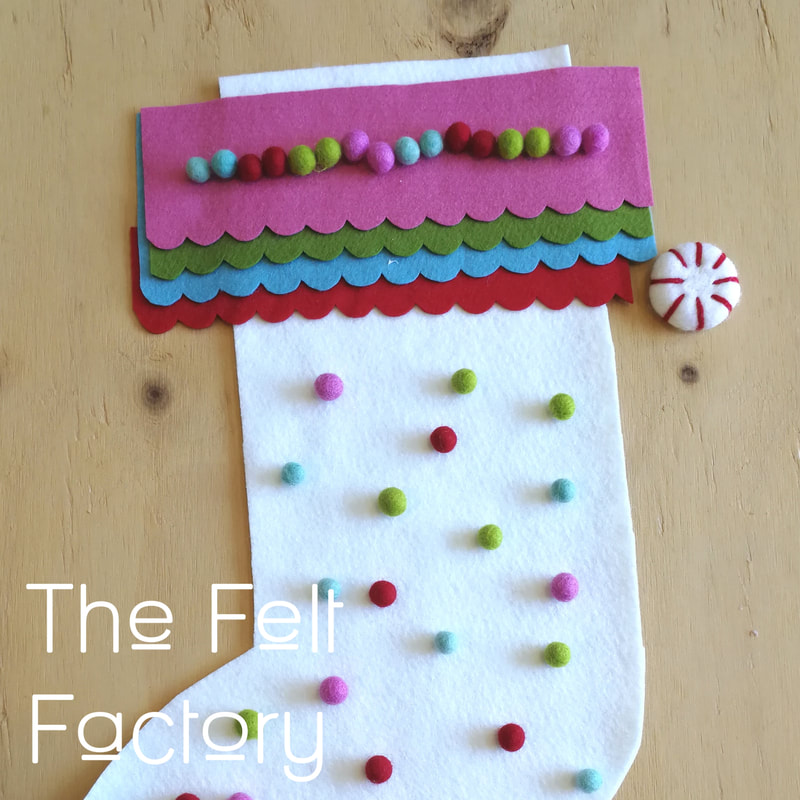
I'd love to see what you make, tag me in your projects #thefeltfactorynz or pop me a photo. Bex :) Ages ago I made the boys and I stockings, and I love them, but moving house and a change in colour schemes, we needed a bit of an update. A bit more colour and a lot more felt was called for. I do love the traditional Christmas colours but I wanted something a bit more bright and modern. 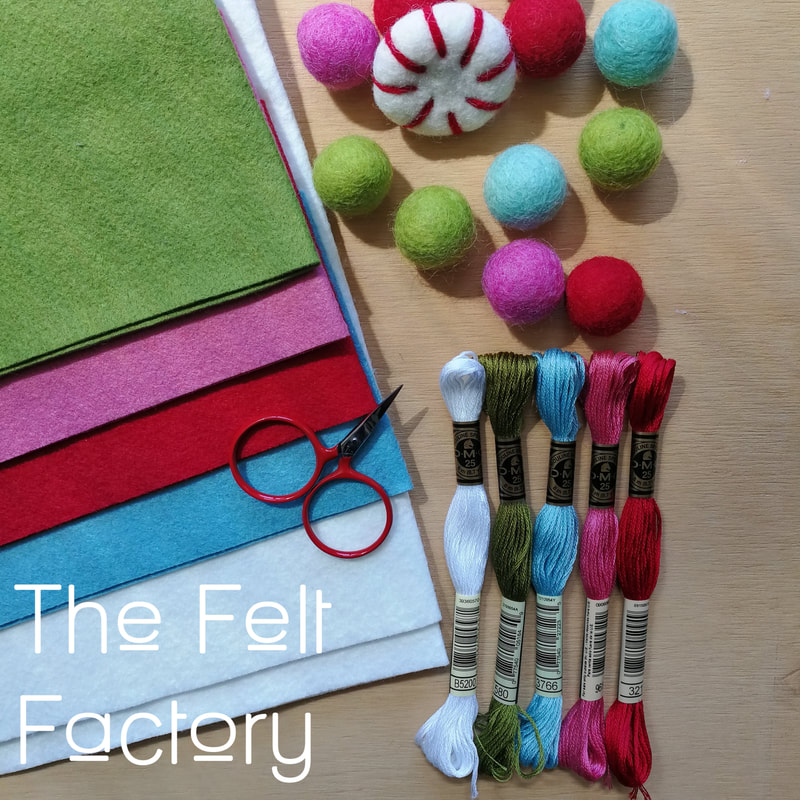 If you would like to make you own, print out my template and tape up along the join. Using my Wool Blend use 0.3m for a single stocking or 0.5m for two. Plus 0.1 per contrasting colour. And Felt Balls, I've used 1cm and 2cm. I used a straight stitch to attach the stripes and my trusty glue gun for the felt balls. Then a blanket stitch to join the front and back of the stocking. You can use a ribbon or the hanging tab on the pattern in felt. 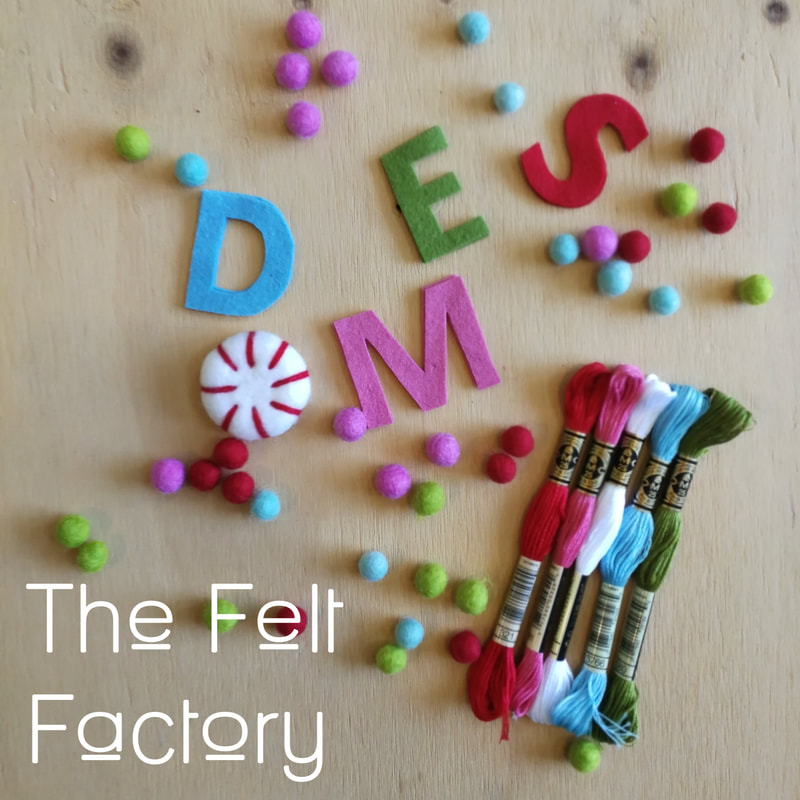 Cute little letters, a peppermint and a few tassels and voila! 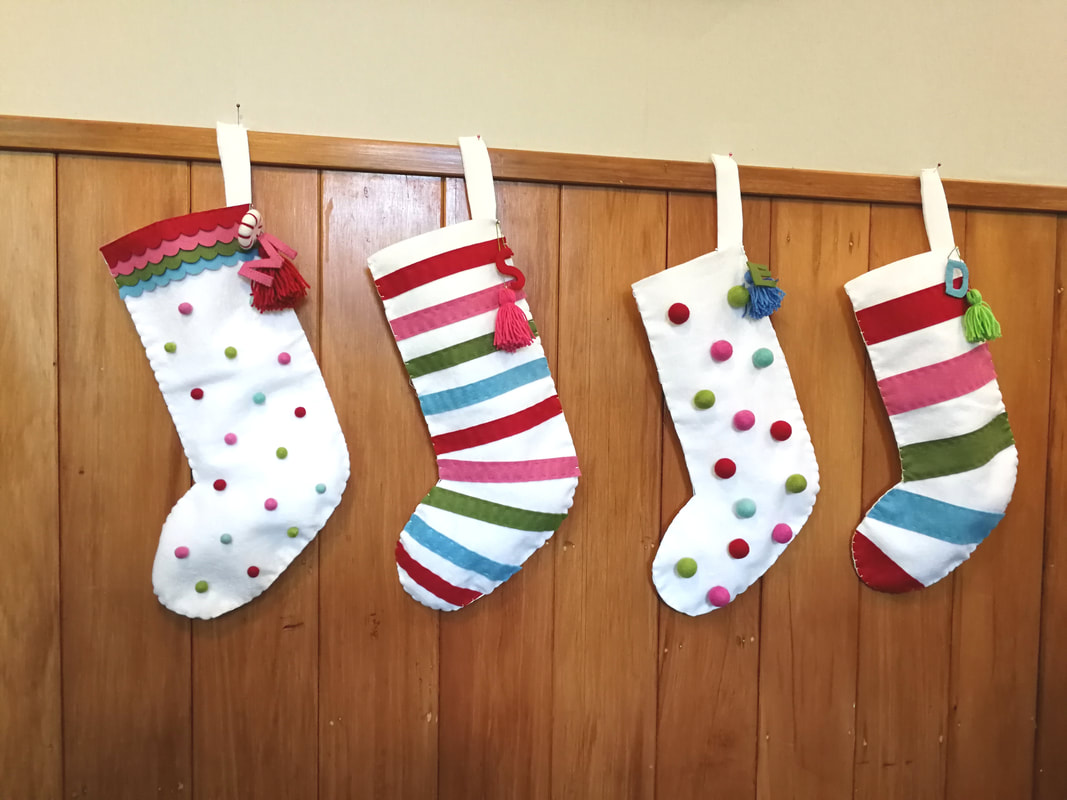 I'm going to have fun filling these this year.
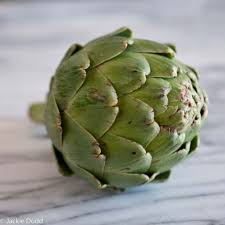
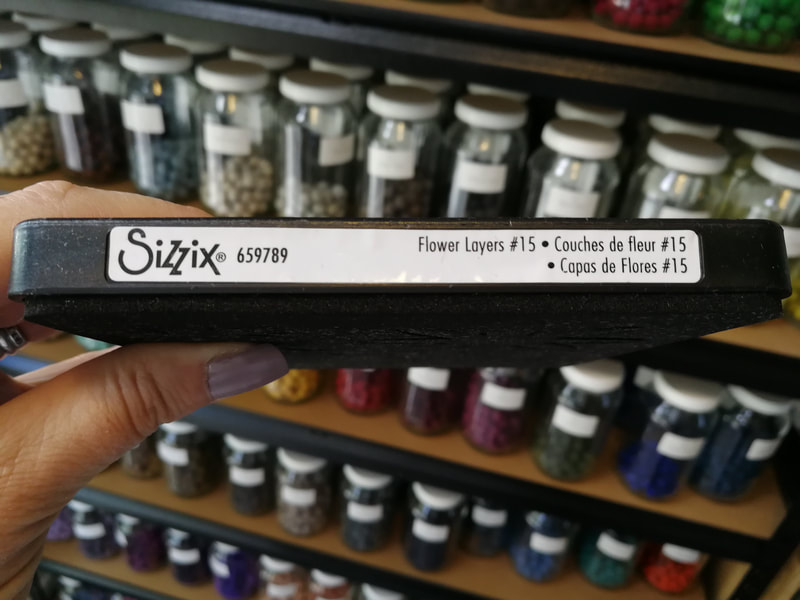
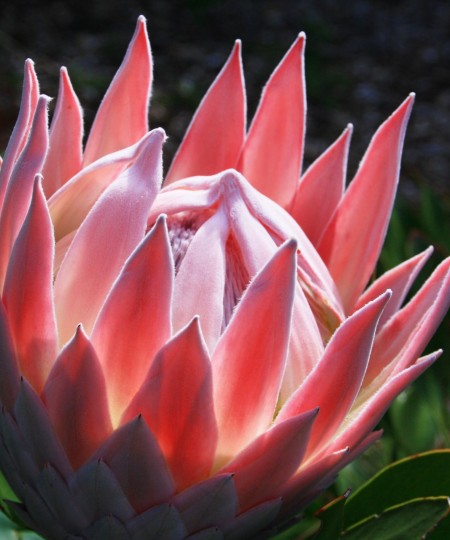
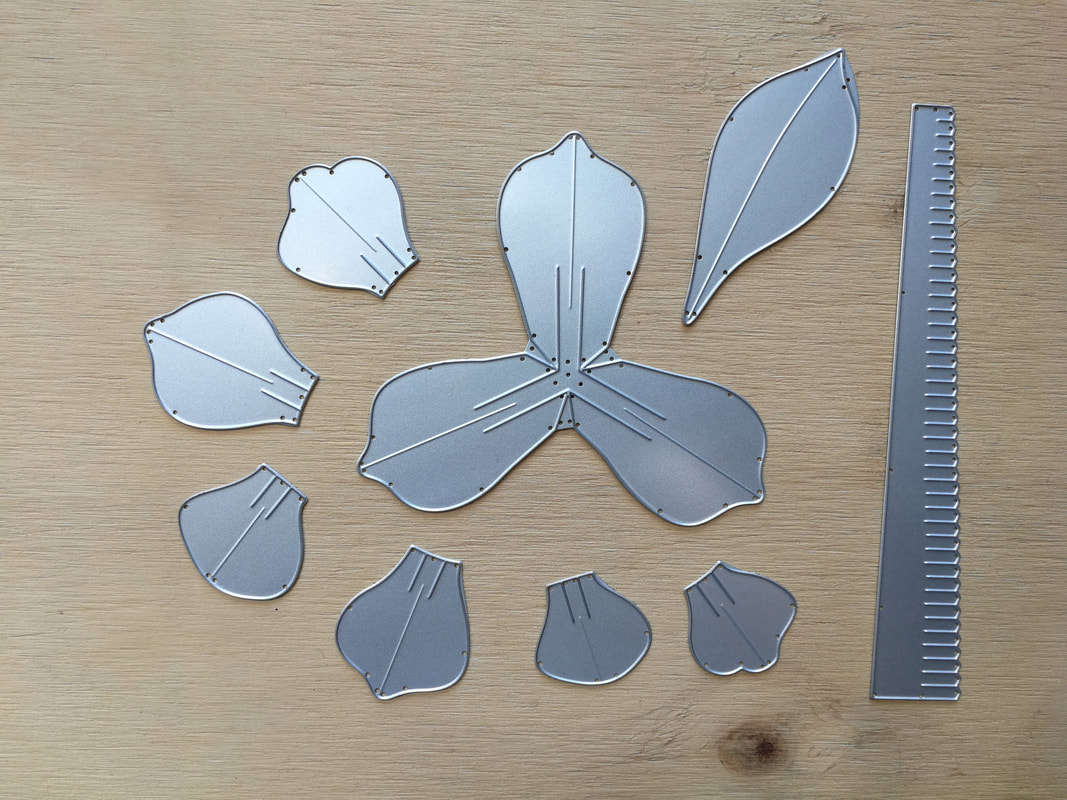
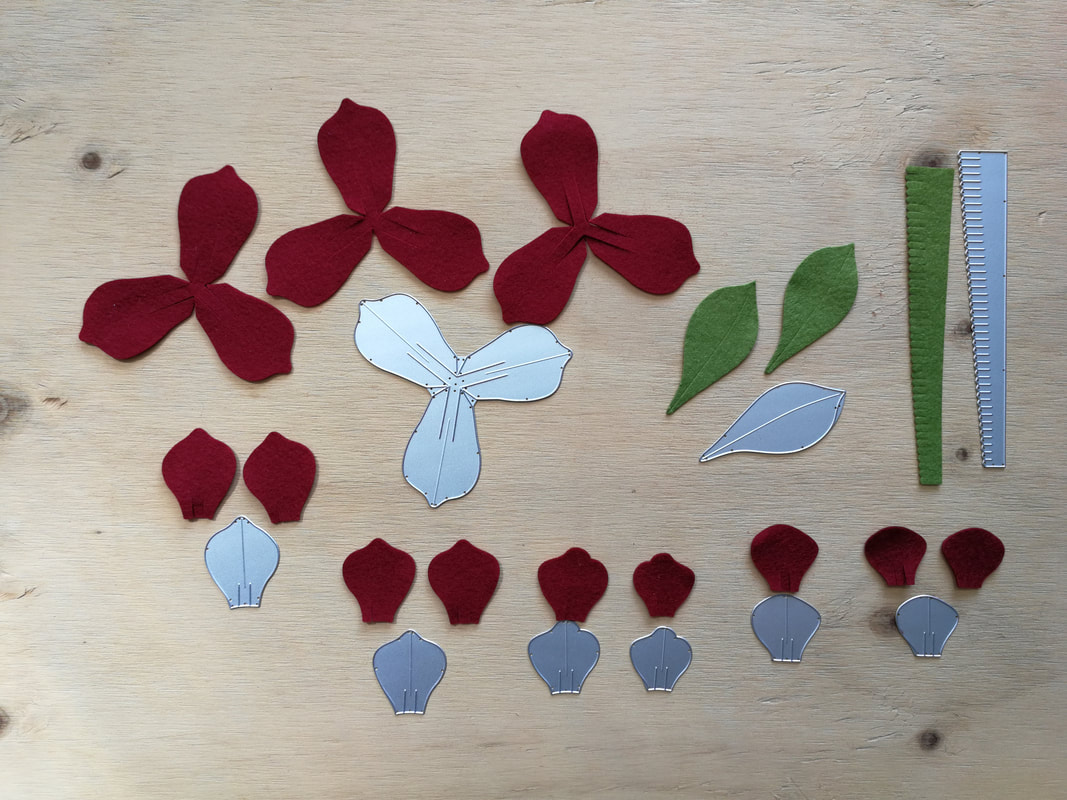
Happy crafting Rebecca. Felt Balls are great and with our felt balls in 93 colours you can make your own beautiful garland in colours to suit your space. I have just added a cute wee Felt Ball Garland Kit to my store which includes a needle, white DMC Thread and an instruction sheet for how to make your own garland. Such a fun project for a new baby, kids room, or birthday party make along. Garlands are a fun addition to kids rooms or to jazz up your craft space. Totally customisable, make any length, add shapes and glitter felt balls. Hang them over bed heads, shelves and curtain rails or pin them to the wall. First things first, choose your colours. Check out my Felt Ball Colour Combinations to get some ideas, I have made up a few samples of colours to get you started. There are no rules about how many colours you need so just have fun. Length will determine how many balls you need, as well as spacing between balls. For example- + A 1.2m long garland with a 2-3 cm space between balls will require approximately 24 Felt Balls. + A 1.2m long garland with no space between balls will require approximately 50 Felt Balls. 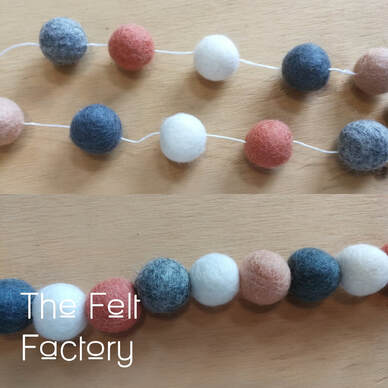 Start by placing your Felt Balls in the order you would like to string them. Have a play around and see which combination you prefer. 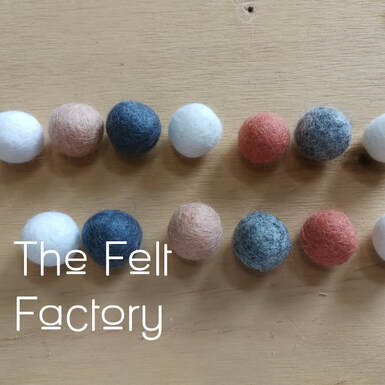 Thread your needle, I use our gorgeous DMC stranded thread, available in hundreds of colours to match or contrast your garland. Make sure to sew right through the middle of the ball. There's no need to knot or tie between each one, the balls won't move unless you push them. 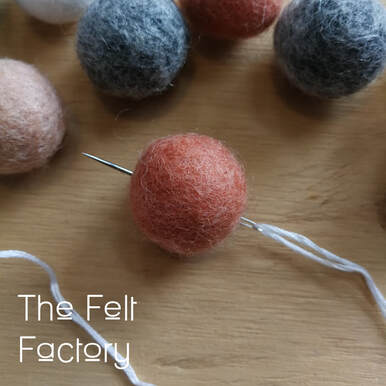 Once you've finished stringing your balls, you can decide how far apart to space them. Push them close together or space them about 2-3cm to see what you like the most. To hang your garland, tie off a loop at each end and pin to your wall with drawing pins or use command hooks. You can also drape your garland across a picture frame, shelf or curtain rail. Our Felt Balls come in four sizes so you can mix and match not only colours but sizes too. Happy Making. Rebecca. xx These are definitely my new favourite things. Super simple and really quick to make, these DIY Felt Ball earrings are so cute and with 93 colours of our delicious felt balls to choose from you can match any look. Seriously SO cute! + First things first, choose some of our gorgeous felt balls in your favourite colours. (I used 1cm and 2cm Felt Balls and loved them both.) + Grab your Earring parts from any Jewellery Supply Shop. I used Craft Runner, they have a wonderful selection including sterling silver for my sensitive ears. :) + For 1cm felt balls I recommend 8mm posts and 12mm for the 2cm felt balls. Don't forget the butterflies! 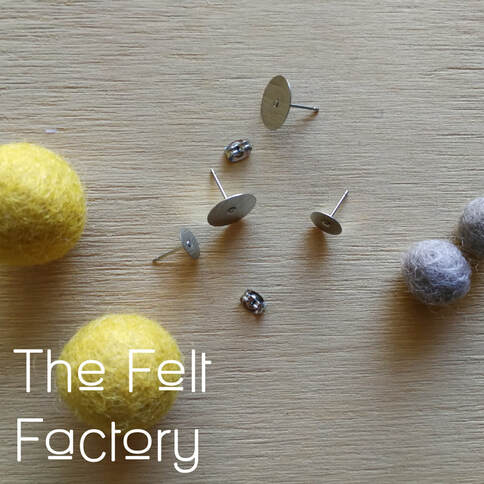 The super easy part, fire up your glue gun and pop a small drop on the post, attach your felt ball. Repeat as many times as necessary. ;) 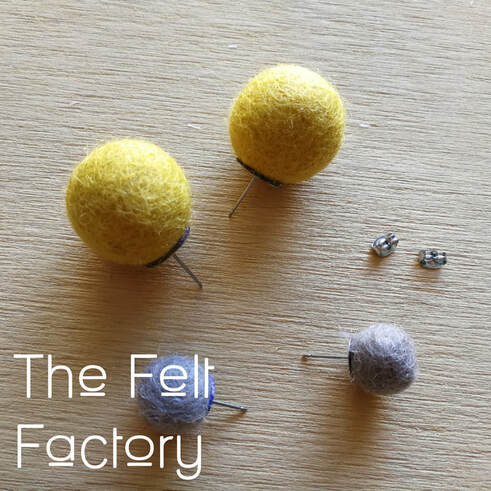 With all the beautiful Autumn colours for this season I'm excited to make more of these. Happy Making Bex xx You know by now I have a real soft spot for felt flowers and I keep my eyes peeled on YouTube for gorgeous tutorials by some very clever makers. There's nothing more satisfying than making one or many of these beautiful felt florals. And once you have a few of the basics down, it's a wonderful thing to mix and match techniques and styles to make your own versions. I love using my Sizzix Big Shot to make mine, however there are some great tutorials and methods and patterns for hand cut flowers. 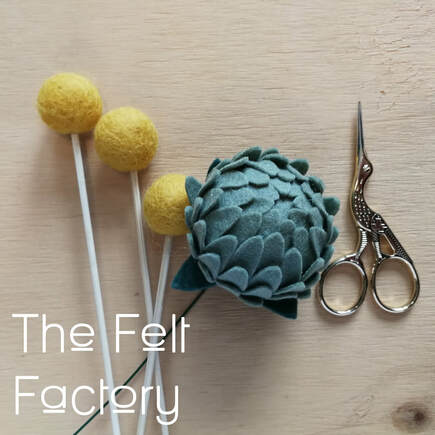 One of my favourite makers Deidre from Flohra Design, has the most beautiful tutorials, using a mixture of handcut and die cut flower pieces. She also supplies a wonderful list of supplies used for each project. If you want a real challenge, she also has a few master classes which you can join. This flower was brilliant fun, using the Sizzix Die Flower Layers #15 and one of my 4cm felt balls. I can see this as a Protea or Artichoke with a colour change. Another of Flohra Designs gorgeous flowers, I was quite taken by the graduated colour of this lovely felt flower. Using only circles and a 3cm felt ball it's lovely in a solid colour as well. 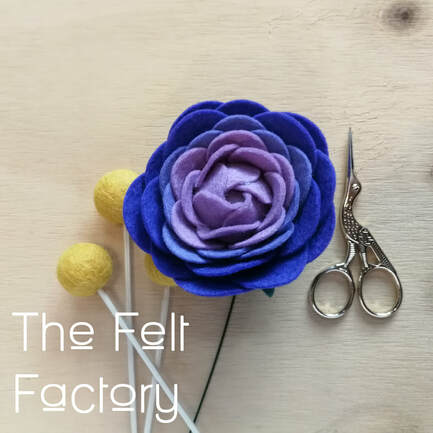 Again I used my Sizzix cutter with the Circle Framelits die, I only used two sized circles but I'll definitely try it again with three sizes. Fumika Saku has such a beautiful style of felt floral. With a mixture of hand cut and die cut, her flowers are all based on botanicals with a romantic and sometimes unusual type. I tried her Candytuft flower which has a couple of lovely techniques.  I tried this one with my Sizzix Flower Layers #15 die and added an extra flower onto the top layer. It's just so lovely, I can't wait to try more of her tutorials. Have fun with these, I'd love to see what you're making. Drop me an email or #thefeltfactorynz onto your posts. Happy making. Rebecca xx You all know by now how much I love felt flowers. I've had this beautiful Sizzix Thinlits die for a while and have used a few bits of the nine dies included in the set, but not all of them together. Today was just the day to try them out. 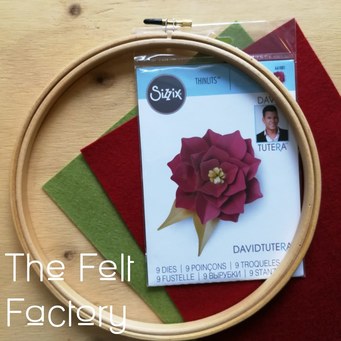 These dies are super easy to use and will cut felt through most die cut machines using a thin die plate. For this project I have used: 1x 100% Merino Wool Felt Sheet in Merlot 1x 100% Merino Wool Felt Sheet in Olive 1x 7" Embroidery Hoop 1x Sizzix Thinlit Dies by David Tutera And of course my handy hot glue gun! Cut out the felt as pictured above. The die also comes with instructions on how many to cut and how to assemble. 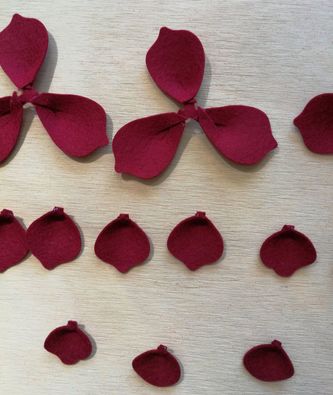 Glue the bottom of the petals together and start assembling. Start with the larger and work inwards in threes until finished. 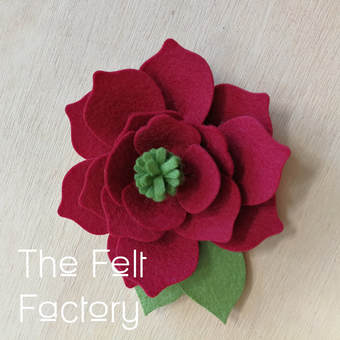 Roll stamen up and glue into the centre. Glue leaves to the back and then glue the whole lot onto the hoop. 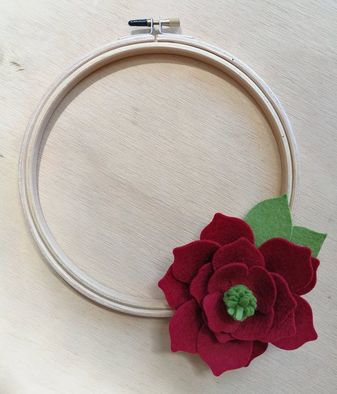 A gorgeous flower for a fun wee project with lots of opportunity for variation.
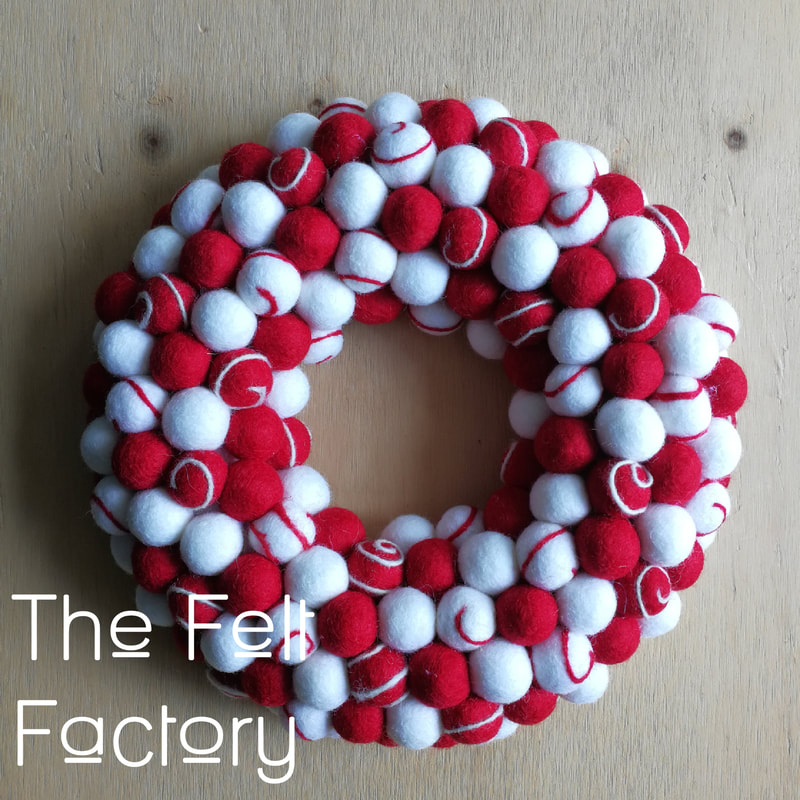
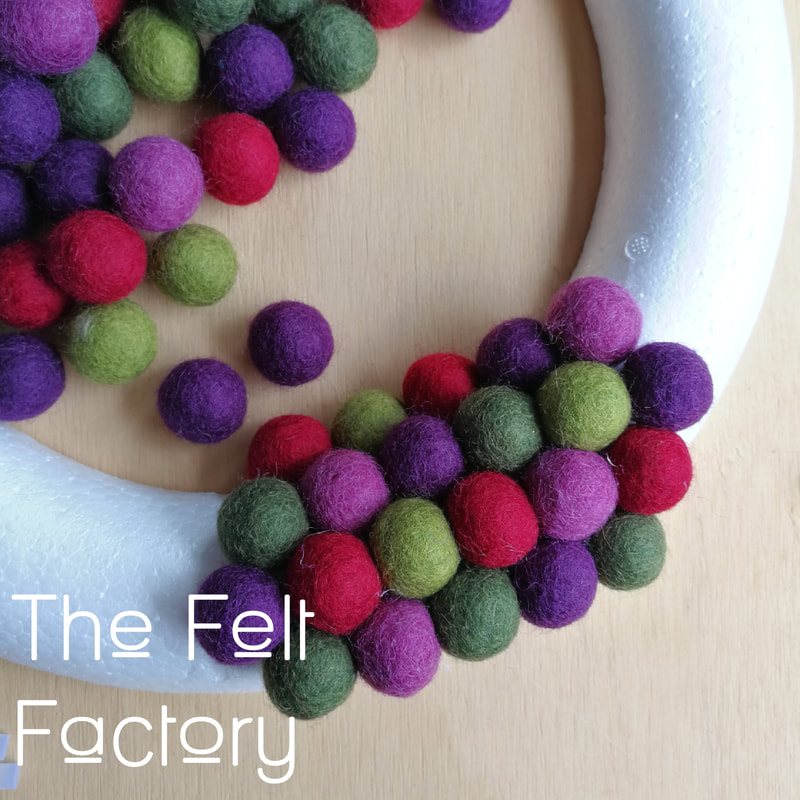
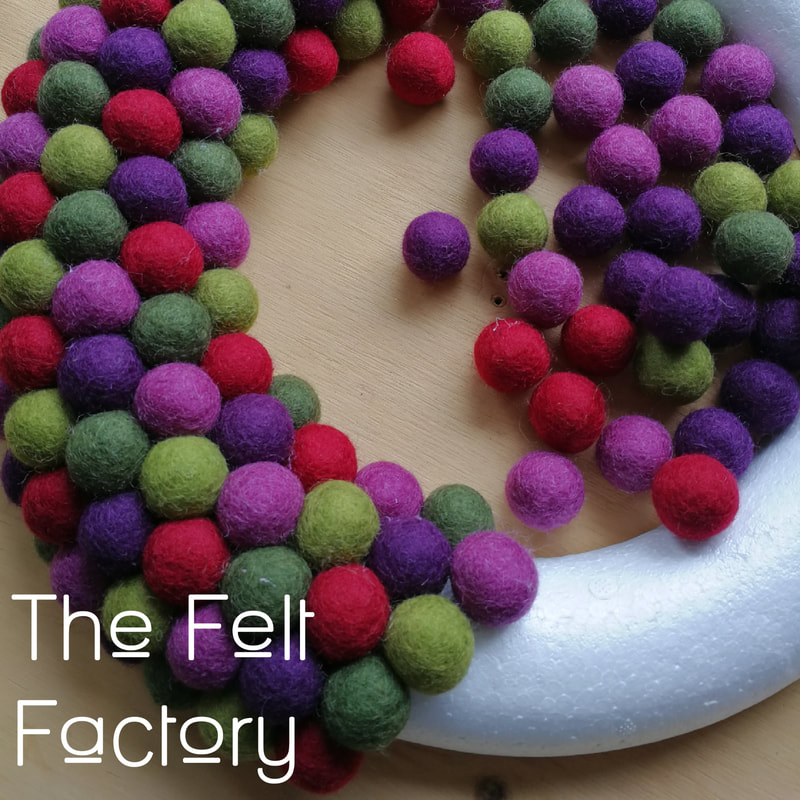
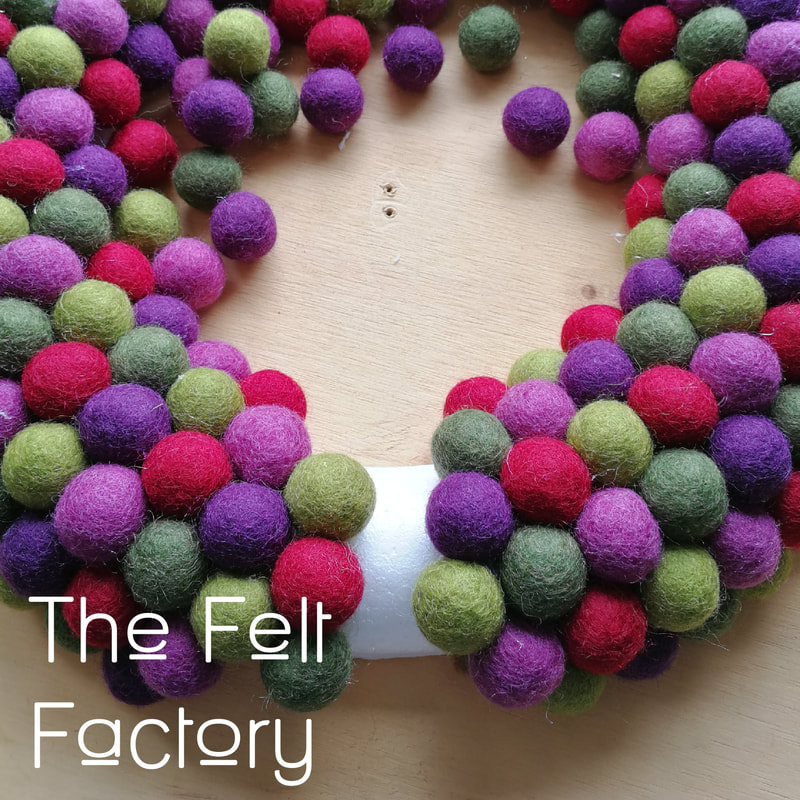
Have fun. Rebecca. xx How cool are these! Such a wonderful, simple project to make for your home for Christmas. We now sell two sizes of polystyrene wreaths especially for felt balls wreaths and with our great tips you can make your own. So to start choose which size wreath you'll need, we have 24cm and 35cm. Choose you felt balls, the very best part!! for the 23cm wreath you'll need 150 2cm balls and the 35cm wreath you'll need 250 2cm balls. I used 5 colours in my large wreath so I had 50 of each colour for my smaller wreath I chose 50 of each red and white and 25 of each stripe. Choose any colours you like to make this totally unique and wonderfully yours. Mix in a few larger sized balls to give a difference again. 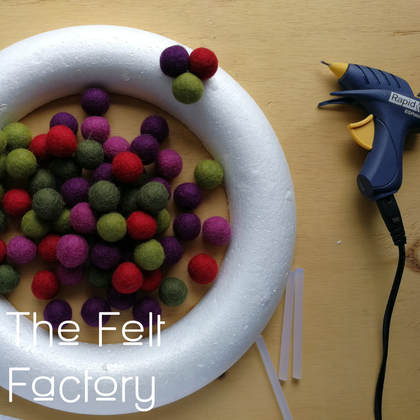 A glue gun is the very best way to stick your felt balls to your wreath. Make sure you have 8-10 sticks at the ready. Starting at the top of your wreath, applying a dot of glue to each ball to secure. Continue around pushing the balls together to close gaps. Have fun. Rebecca xx Hoop Art & Felt Flowers! You all know by now, little projects are my absolute favourite. My favourite craft magazine at the moment is the UK based Mollie Makes, a fab source of small projects in all sorts of styles by small business makers and contributors from all over the world. One in particular has been on my work bench since the issue came out. The Embroidered Terrarium pattern is by UK crafter Helen Wilde from Ovo Bloom. So cute, I love a good hoop art project. I did want to change it up a bit, I wanted to incorporate a couple of felt succulents that I've been crushing on by Flohra Design, Deidre is a felt florist from the US, she is so clever and makes the most beautiful felt flowers, she also has great tutorials on making your own. To use my larger felt flowers the hoop needed to be 25cm. I used three shades of brown DMC embroidery thread for the french knots, my 100% Merino Wool Felt Sheets in Fern, Spring and Moss and my brand new Sizzix Dies.  Follow the instructions to outline the terrarium and start on the french knots. 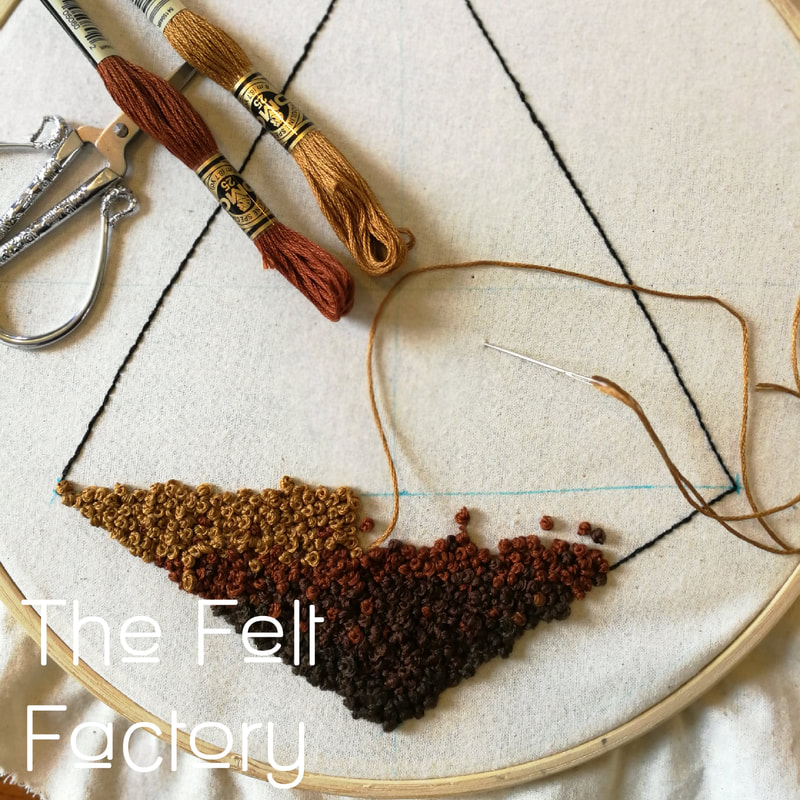 And the super fun part of making the felt flowers! I used Deidre's gorgeous DIY Felt Succulent with Sizzix Die for the large Fern coloured flower, she has a few other succulent tutorials using dies and hand cut techniques. Check them out and see which ones suit you. She also has a list of the dies and other supplies required to make all her projects. 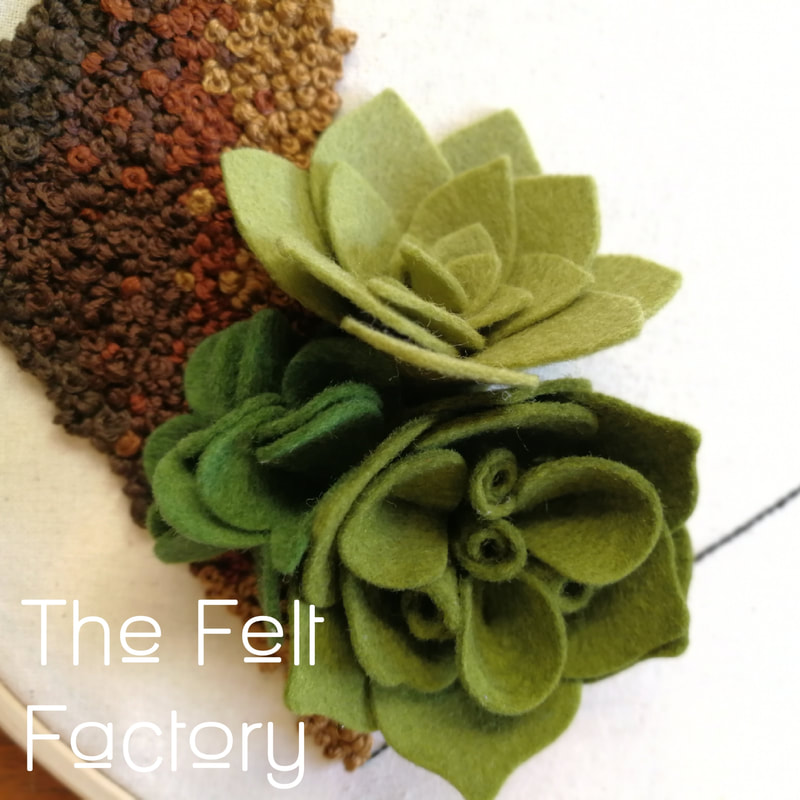 Place your flowers on the hoop, gluing to fix them. Tidy up the back of the hoop and voila! Done and dusted. Have fun with this, I sure did. Happy making, Rebecca. XX 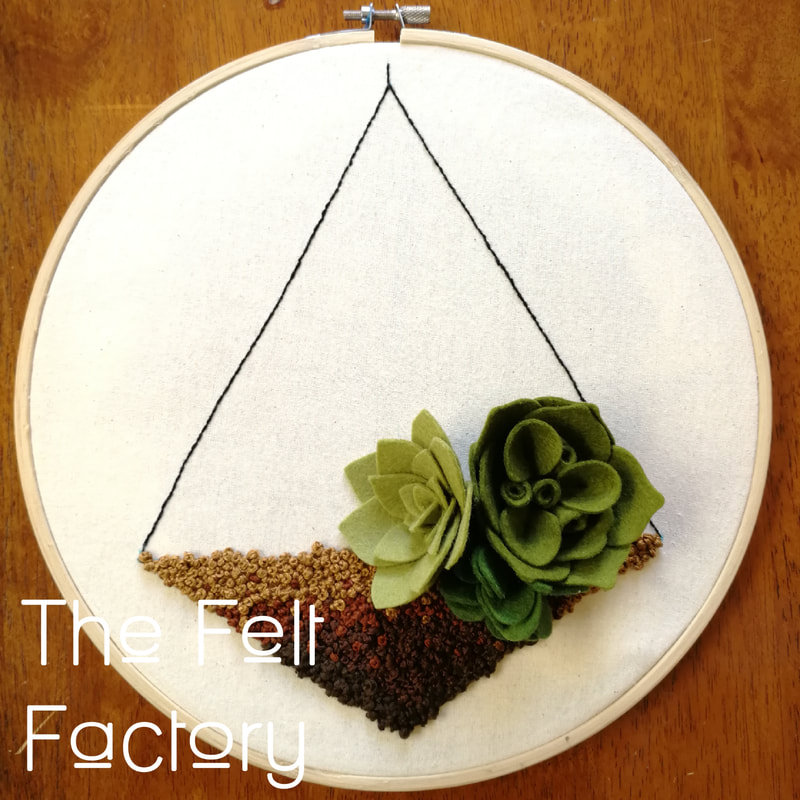 DIY Letters with Felt Balls With the school holidays around the corner, we are wishing and hoping for fine weather, however, as usual I have a few activities up my sleeve for a rainy day. These letters are super fun and easy to make in an afternoon. 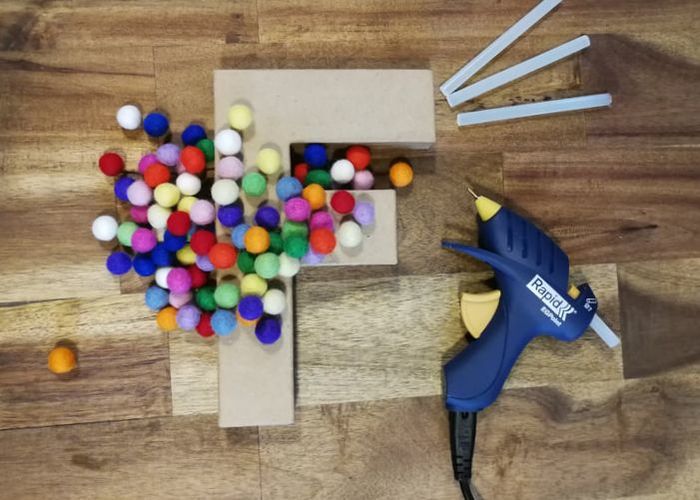 I choose my letter from a great selection in my local craft store. They are available in a few cute fonts and a whole lot of shapes. In papier mache or wood they are around 15cm tall for around $9. Then for the felt balls! I have used 1cm balls for this project in 14 colours with six of each.  Starting in one corner, glue the balls on in any order you please. Such a fun little project. Happy Crafting, Bex. PS I absolutely love my new glue gun, its perfect for all my little bity projects. It’s a Rapid precision point with a removable cord, so handy! 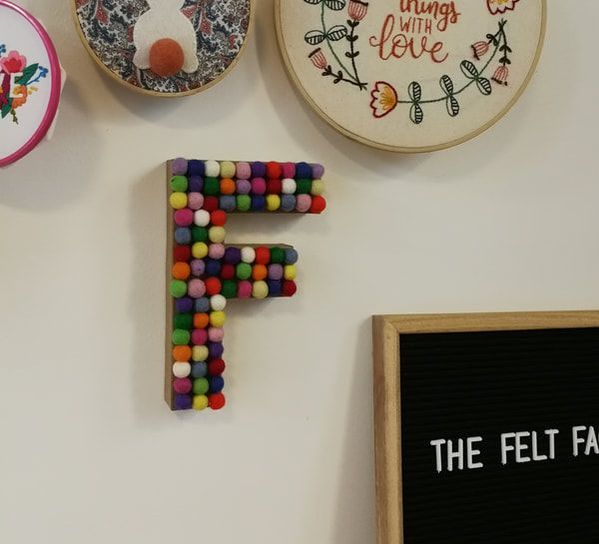 |
AuthorHi! I'm Rebecca. Archives
March 2023
Categories
All
|


 RSS Feed