|
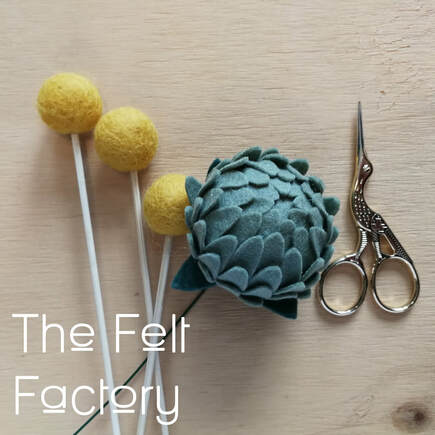
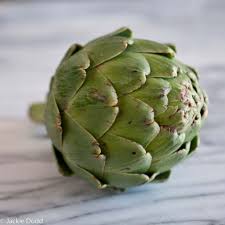
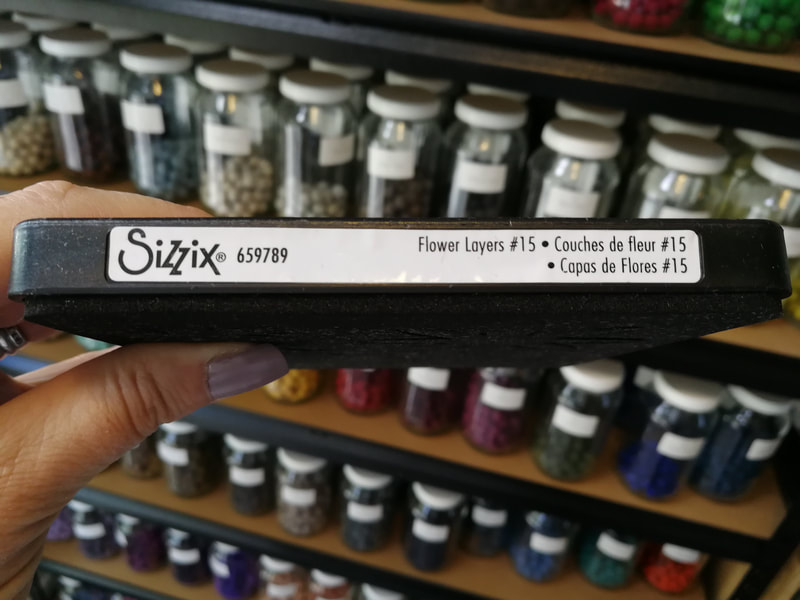
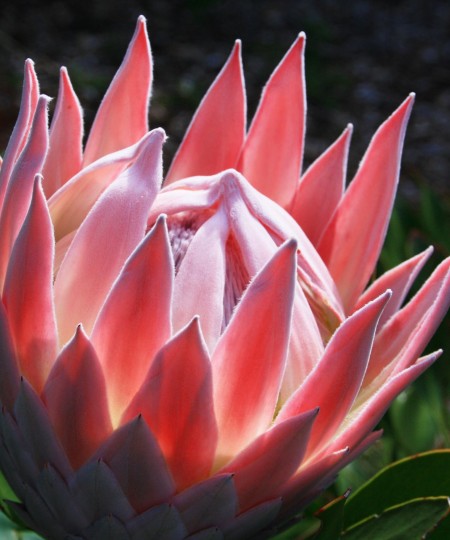
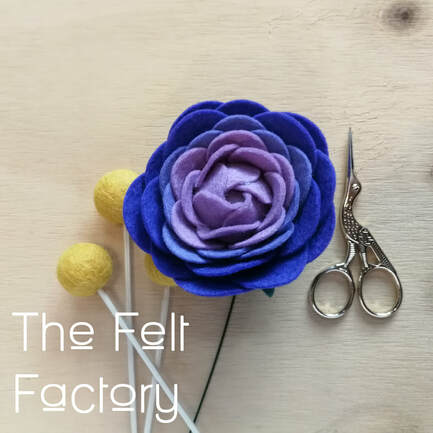
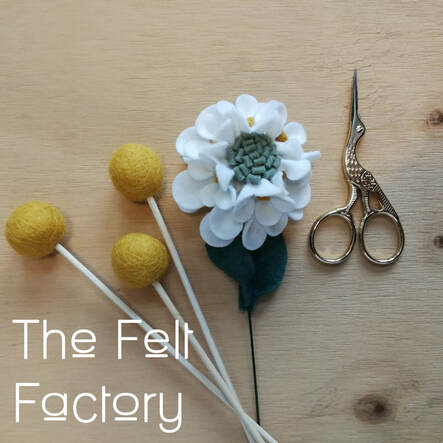
You know by now I have a real soft spot for felt flowers and I keep my eyes peeled on YouTube for gorgeous tutorials by some very clever makers. There's nothing more satisfying than making one or many of these beautiful felt florals. And once you have a few of the basics down, it's a wonderful thing to mix and match techniques and styles to make your own versions. I love using my Sizzix Big Shot to make mine, however there are some great tutorials and methods and patterns for hand cut flowers. One of my favourite makers Deidre from Flohra Design, has the most beautiful tutorials, using a mixture of handcut and die cut flower pieces. She also supplies a wonderful list of supplies used for each project. If you want a real challenge, she also has a few master classes which you can join. This flower was brilliant fun, using the Sizzix Die Flower Layers #15 and one of my 4cm felt balls. I can see this as a Protea or Artichoke with a colour change. Another of Flohra Designs gorgeous flowers, I was quite taken by the graduated colour of this lovely felt flower. Using only circles and a 3cm felt ball it's lovely in a solid colour as well. Again I used my Sizzix cutter with the Circle Framelits die, I only used two sized circles but I'll definitely try it again with three sizes. Fumika Saku has such a beautiful style of felt floral. With a mixture of hand cut and die cut, her flowers are all based on botanicals with a romantic and sometimes unusual type. I tried her Candytuft flower which has a couple of lovely techniques. I tried this one with my Sizzix Flower Layers #15 die and added an extra flower onto the top layer. It's just so lovely, I can't wait to try more of her tutorials. Have fun with these, I'd love to see what you're making. Drop me an email or #thefeltfactorynz onto your posts. Happy making. Rebecca xx
1 Comment
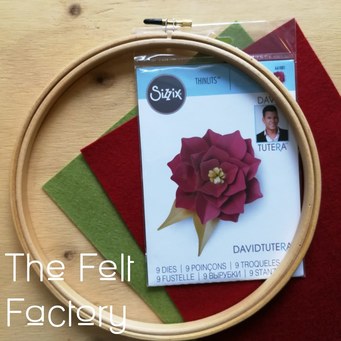
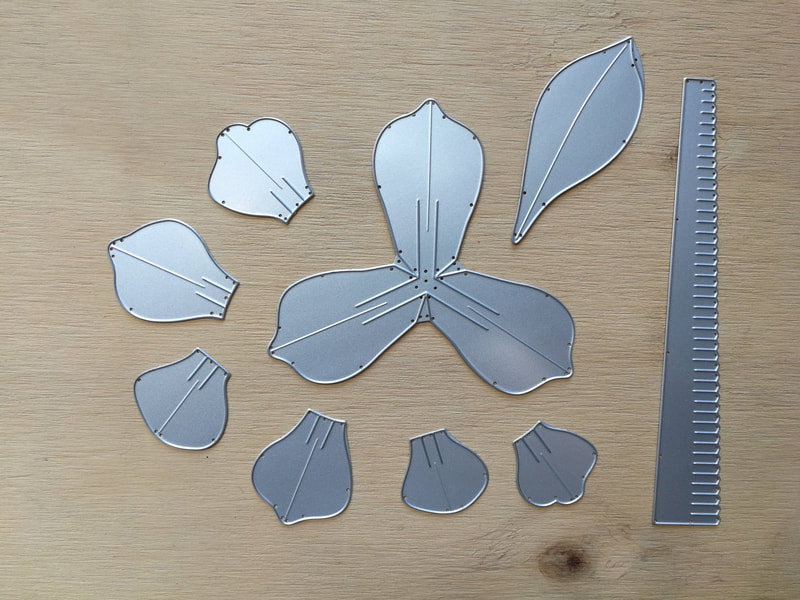
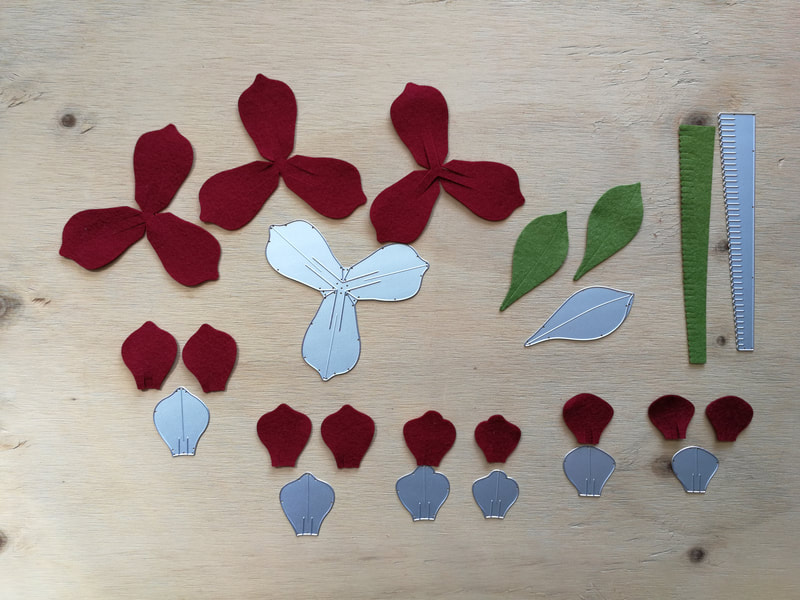
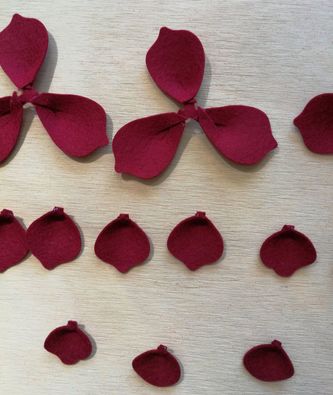
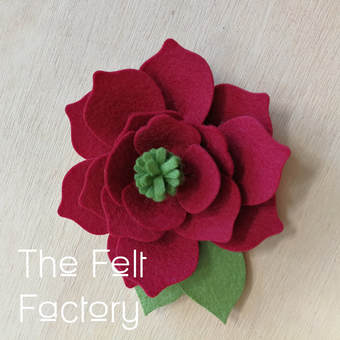
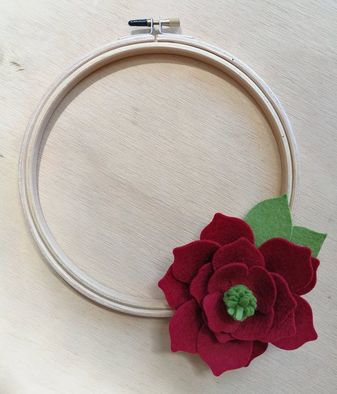
You all know by now how much I love felt flowers. I've had this beautiful Sizzix Thinlits die for a while and have used a few bits of the nine dies included in the set, but not all of them together. Today was just the day to try them out. These dies are super easy to use and will cut felt through most die cut machines using a thin die plate. For this project I have used: 1x 100% Merino Wool Felt Sheet in Merlot 1x 100% Merino Wool Felt Sheet in Olive 1x 7" Embroidery Hoop 1x Sizzix Thinlit Dies by David Tutera And of course my handy hot glue gun! Cut out the felt as pictured above. The die also comes with instructions on how many to cut and how to assemble. Glue the bottom of the petals together and start assembling. Start with the larger and work inwards in threes until finished. Roll stamen up and glue into the centre. Glue leaves to the back and then glue the whole lot onto the hoop. A gorgeous flower for a fun wee project with lots of opportunity for variation.
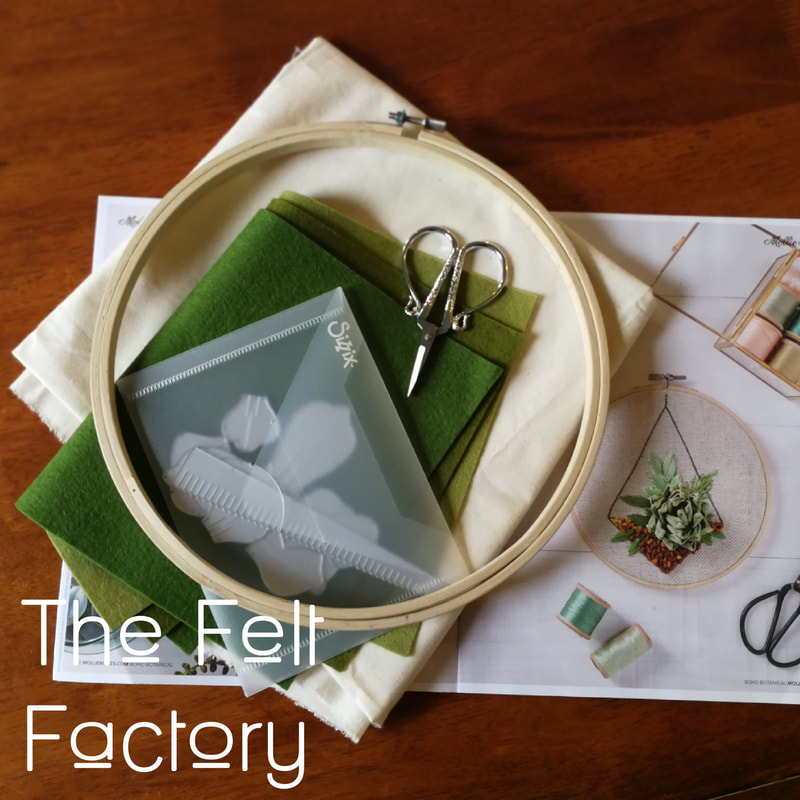
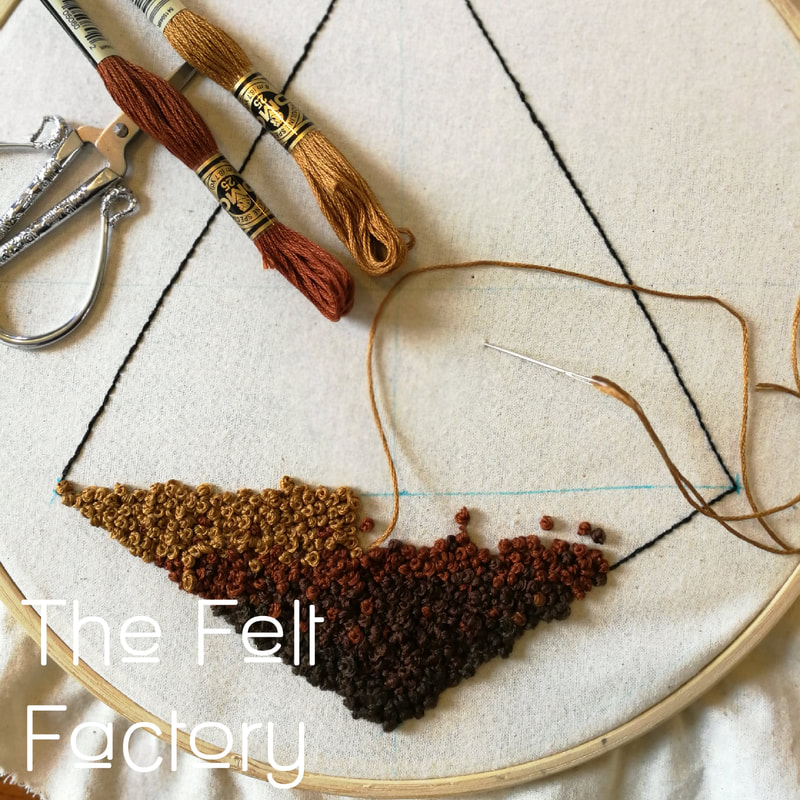
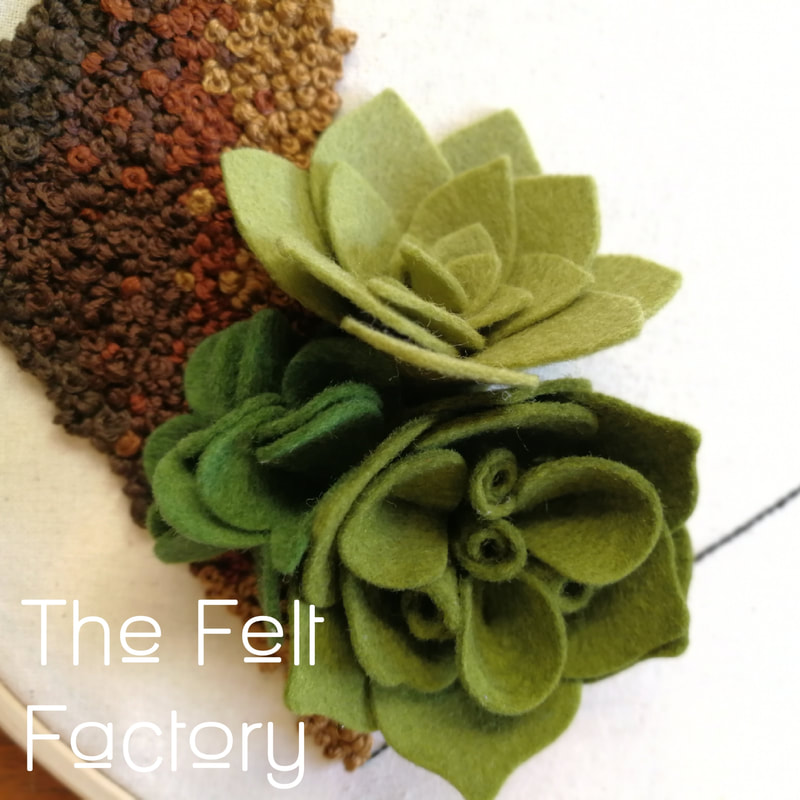
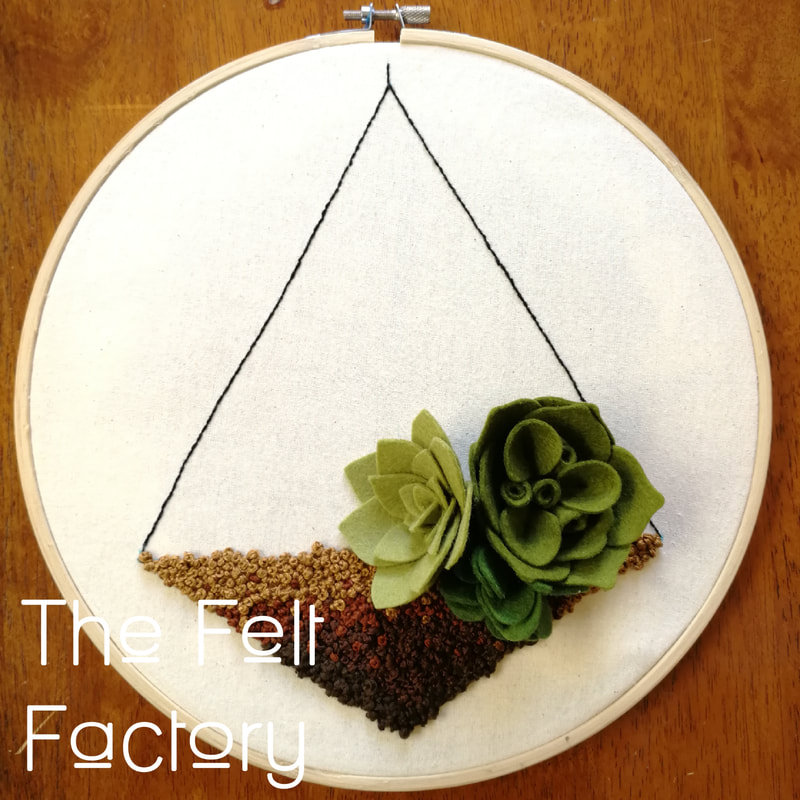
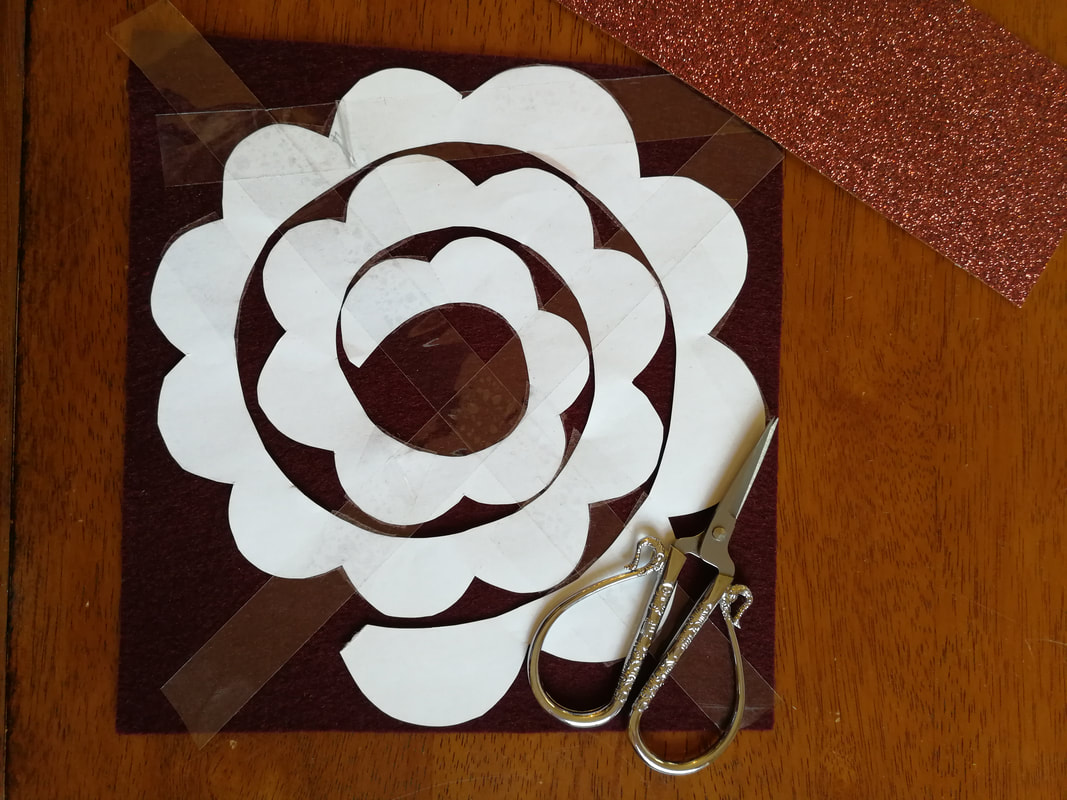
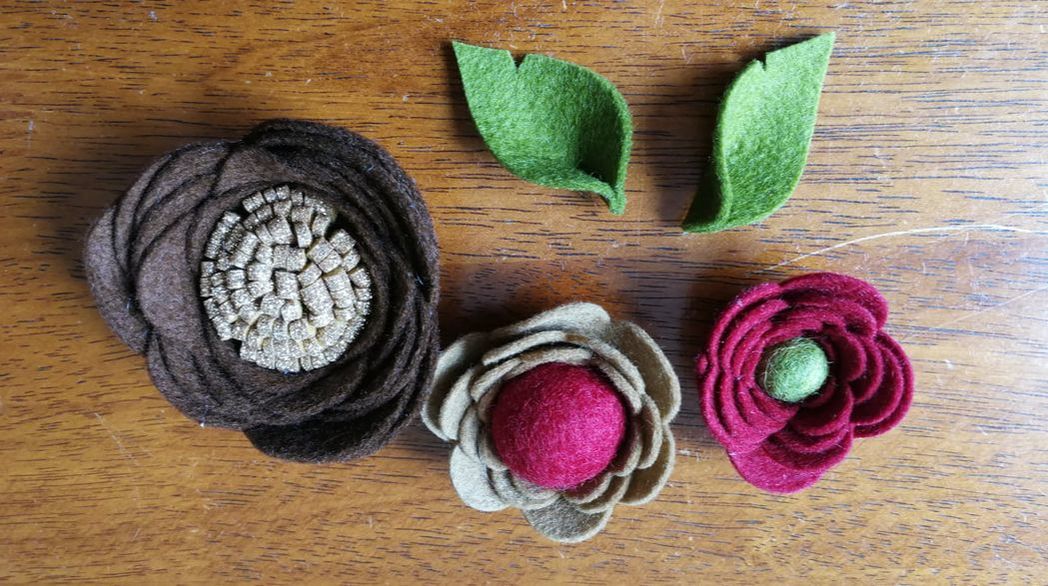
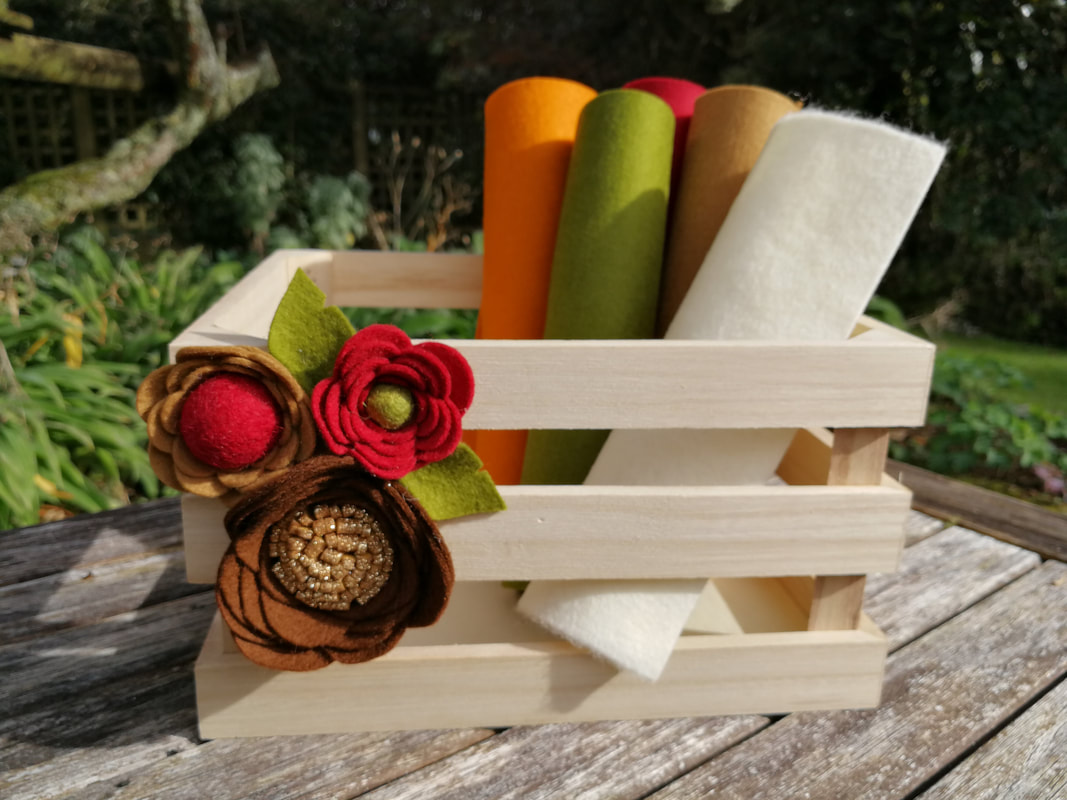
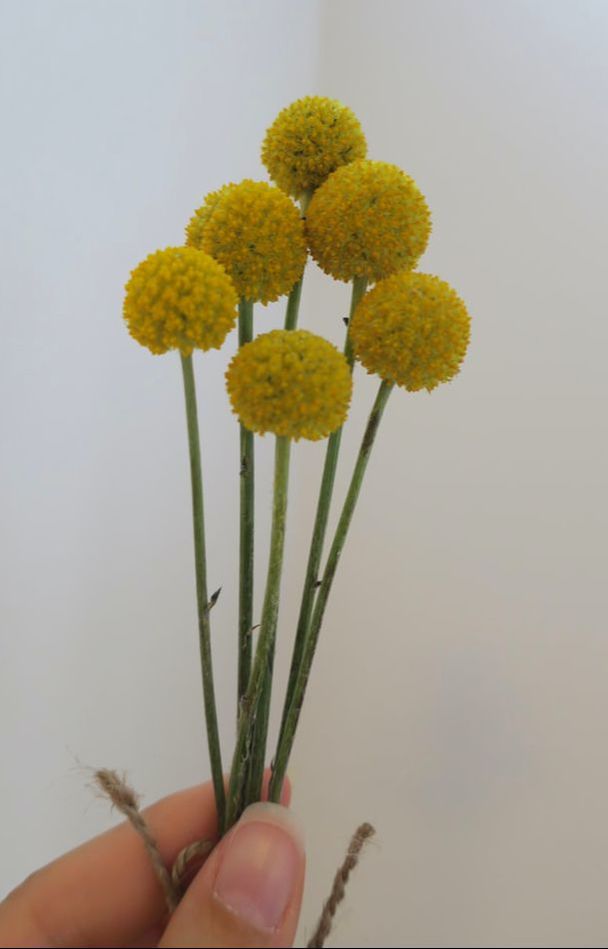
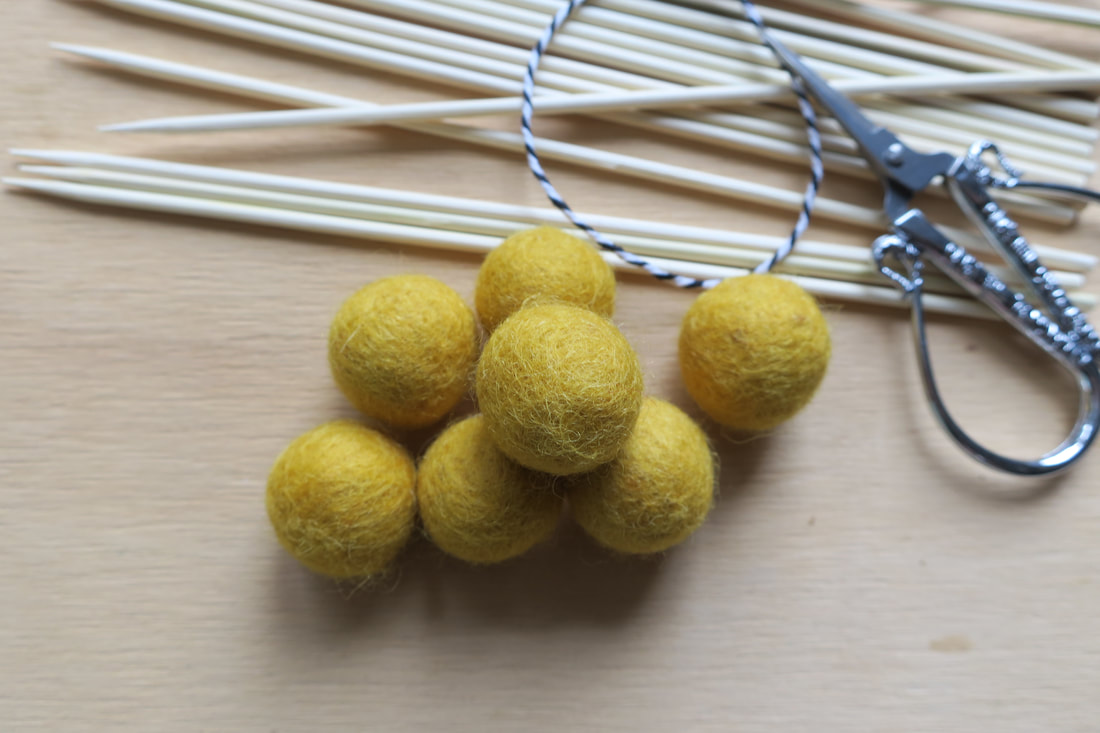
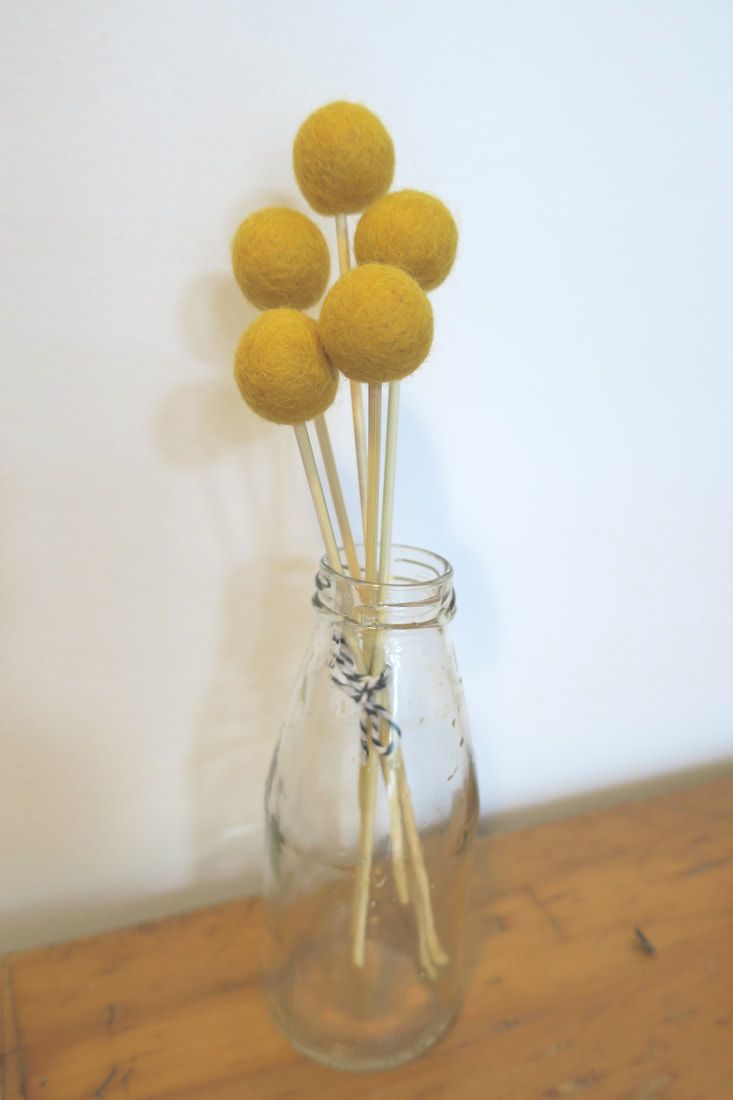
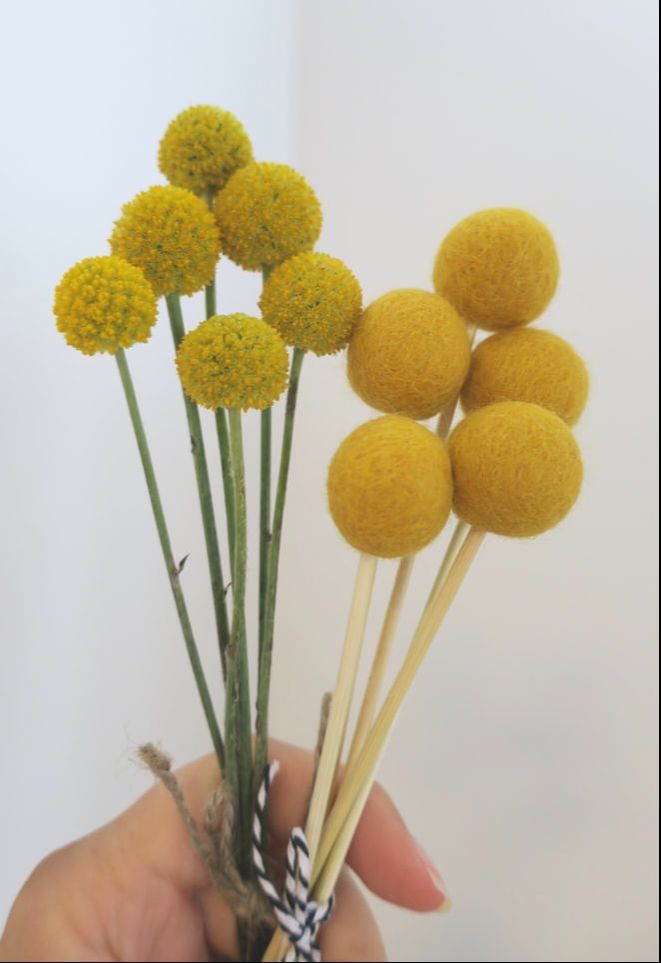
Have fun. Rebecca. xx Hoop Art & Felt Flowers! You all know by now, little projects are my absolute favourite. My favourite craft magazine at the moment is the UK based Mollie Makes, a fab source of small projects in all sorts of styles by small business makers and contributors from all over the world. One in particular has been on my work bench since the issue came out. The Embroidered Terrarium pattern is by UK crafter Helen Wilde from Ovo Bloom. So cute, I love a good hoop art project. I did want to change it up a bit, I wanted to incorporate a couple of felt succulents that I've been crushing on by Flohra Design, Deidre is a felt florist from the US, she is so clever and makes the most beautiful felt flowers, she also has great tutorials on making your own. To use my larger felt flowers the hoop needed to be 25cm. I used three shades of brown DMC embroidery thread for the french knots, my 100% Merino Wool Felt Sheets in Fern, Spring and Moss and my brand new Sizzix Dies. Follow the instructions to outline the terrarium and start on the french knots. And the super fun part of making the felt flowers! I used Deidre's gorgeous DIY Felt Succulent with Sizzix Die for the large Fern coloured flower, she has a few other succulent tutorials using dies and hand cut techniques. Check them out and see which ones suit you. She also has a list of the dies and other supplies required to make all her projects. Place your flowers on the hoop, gluing to fix them. Tidy up the back of the hoop and voila! Done and dusted. Have fun with this, I sure did. Happy making, Rebecca. XX I LOVE felt flowers! Big or small they are so fun are gorgeous for all sorts of projects. I've had a ton of fun trying out a couple of different methods and styles, I tell you, there are so many beautiful projects. Paper templates make beautiful hand cut flowers, there are also some great dies to use with a cutting machine. Of course, in the name of craft I had to try both. Paper Patterns The paper version was super simple, check out my Pintrest board for some great templates. I found the best way to attach the tricky little pattern to my felt was by taping it down, then cutting around the pattern. Start from one end and roll the felt up using a glue gun to secure it all together. Die Cut The die I used was the Spiral Flower from Sizzix, super easy to use. These dies are made for a Big Shot machine but will work through a Cuttlebug too. As with the handcut flower, start rolling and glue as you go. Easy peasy! The great thing about this type of spiral pattern is the versatility of it. I made a couple of variations using contrasting felt balls and a sparkly strip of glitter felt. Gorgeous! So, what to do with your felt flowers? You're only limited by your imagination! Put them on florist wire and in a vase, use them as flourishes on a quilt or wall hanging, hair accessories or something like this >> If you loved this project and want more inspiration, one of my favourite felt florists Flohra Design has a wonderful blog and YouTube channel with heaps of tutorials you'll just love! Happy Making! Bex xx I was absolutely thrilled to find Billy Buttons in one of our beautiful florists in New Plymouth this week. I spotted them on IG and fell immediately in love. I'm sure you can see why, these happy, yellow balls of goodness are a dead ringer for my beloved felt balls. Of course I had to try and make a Felt Ball version. And what a fun easy project. With only a couple of supplies I've made a cute wee posy for my desk. All you'll need is a couple of bamboo skewers, our 2cm Felt Balls (I have used 5x 2cm Felt Balls in Yellow) and a length of twine or ribbon. Super easy, use the pointed end of the skewer and gently twist and push into the felt ball. You can paint or twist ribbon or raffia around the skewer to give a more lux effect. I love the clean bamboo in a glass jar, so I left mine plain. Even though Billy Buttons only grow yellow, the Felt Ball version have endless colour options, well 93 anyway ;) Check out our great range here. Have fun with this, I sure did. I'm off to make some more. xx Rebecca. |
AuthorHi! I'm Rebecca. Archives
March 2023
Categories
All
|

 RSS Feed